TailContext的作用
和head类似,作为尾结点的特殊处理器和上下文,但是只是入站处理器,消息传到这里也不处理,如果有资源的话会去释放:

所有入站的消息都会在这里终结,主要用于资源的释放,比如缓冲区,你可以看到他的实现方法:
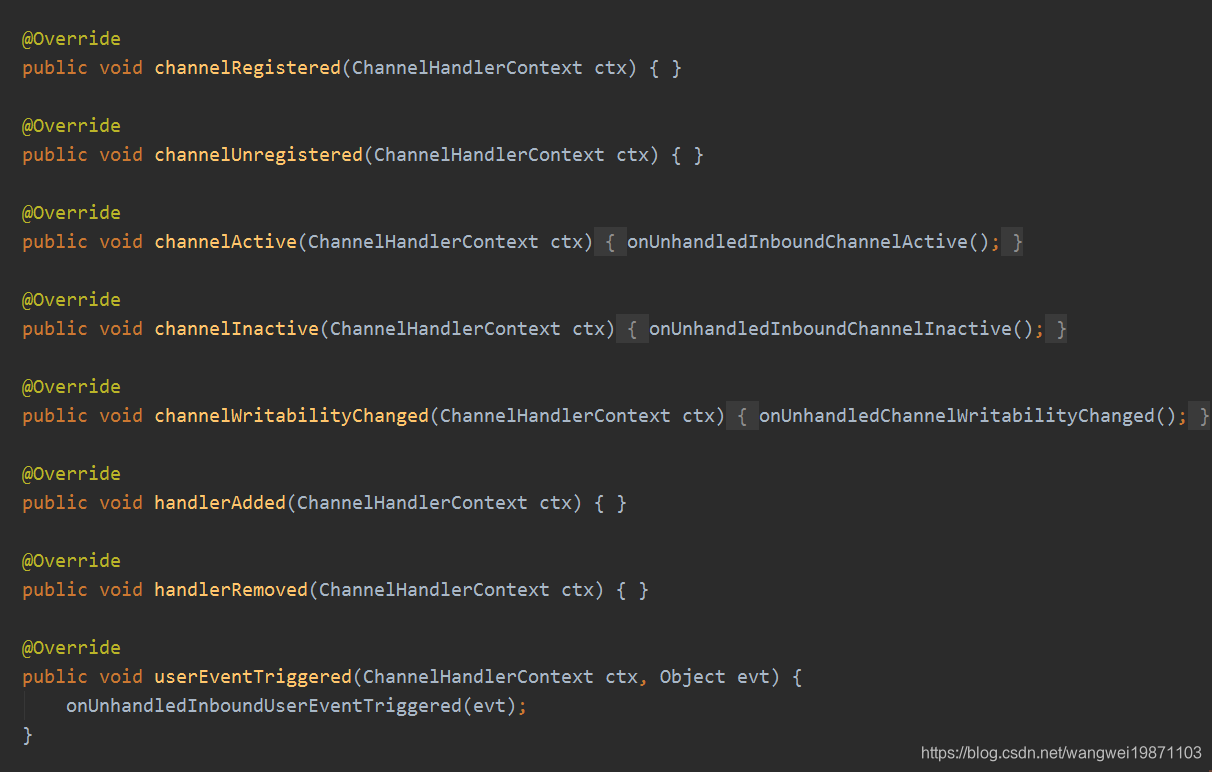

可以看到没做什么处理,只是释放资源:
     protected void onUnhandledInboundException(Throwable cause) {
            try {
                logger.warn(
                        "An exceptionCaught() event was fired, and it reached at the tail of the pipeline. " +
                                "It usually means the last handler in the pipeline did not handle the exception.",
                        cause);
            } finally {
                ReferenceCountUtil.release(cause);
            }
        }


        protected void onUnhandledInboundChannelActive() {
        }


        protected void onUnhandledInboundChannelInactive() {
        }


        protected void onUnhandledInboundMessage(Object msg) {
            try {
                logger.debug(
                        "Discarded inbound message {} that reached at the tail of the pipeline. " +
                                "Please check your pipeline configuration.", msg);
            } finally {
                ReferenceCountUtil.release(msg);
            }
        }


        protected void onUnhandledInboundMessage(ChannelHandlerContext ctx, Object msg) {
            onUnhandledInboundMessage(msg);
            if (logger.isDebugEnabled()) {
                logger.debug("Discarded message pipeline : {}. Channel : {}.",
                             ctx.pipeline().names(), ctx.channel());
            }
        }


        protected void onUnhandledInboundChannelReadComplete() {
        }


        protected void onUnhandledInboundUserEventTriggered(Object evt) {
            // This may not be a configuration error and so don't log anything.
            // The event may be superfluous for the current pipeline configuration.
            ReferenceCountUtil.release(evt);
        }


        protected void onUnhandledChannelWritabilityChanged() {
        }
出站操作
和入站操作相反,很多出站操作是从tail尾结点开始的,比如:
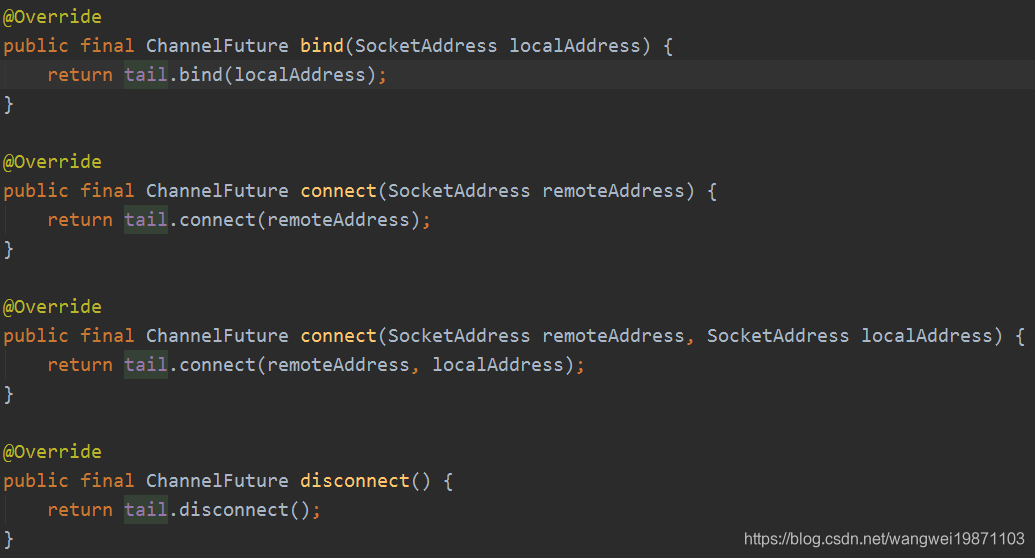
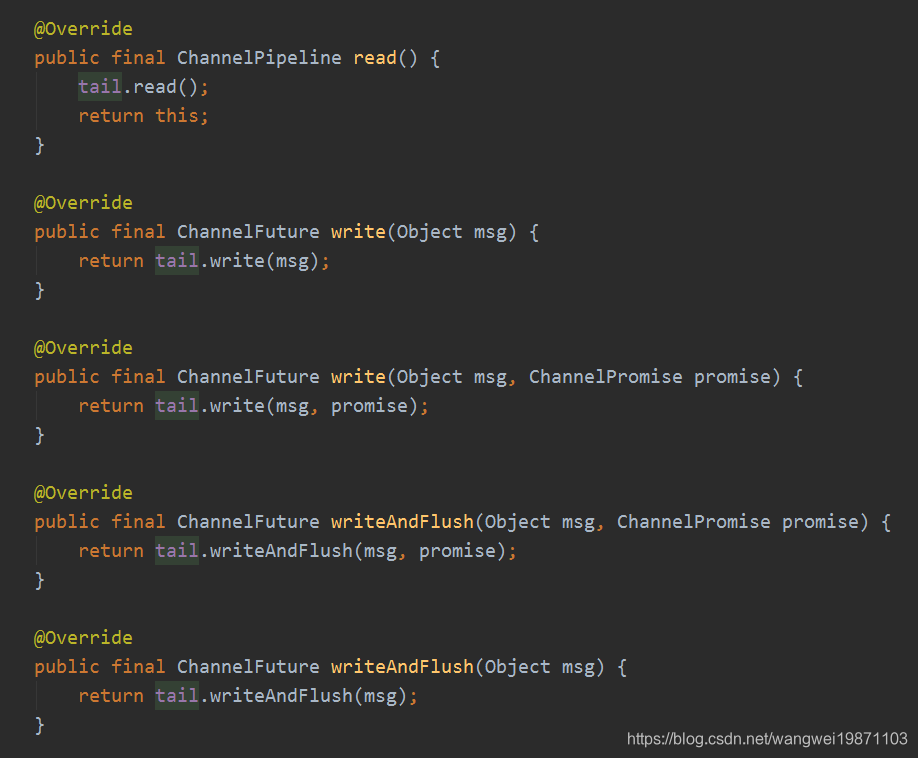
我不一一列举了,为什么都是从尾结点开始,这个应该就是拦截器的思想,入站是从头开始,那出站就是相反的方向,这样的话所有处理器才有可能被全部执行到,虽然大部分情况下最后都是传递到head这边处理,因为head里面有通道的unsafe方法,真正的操作是他做的:
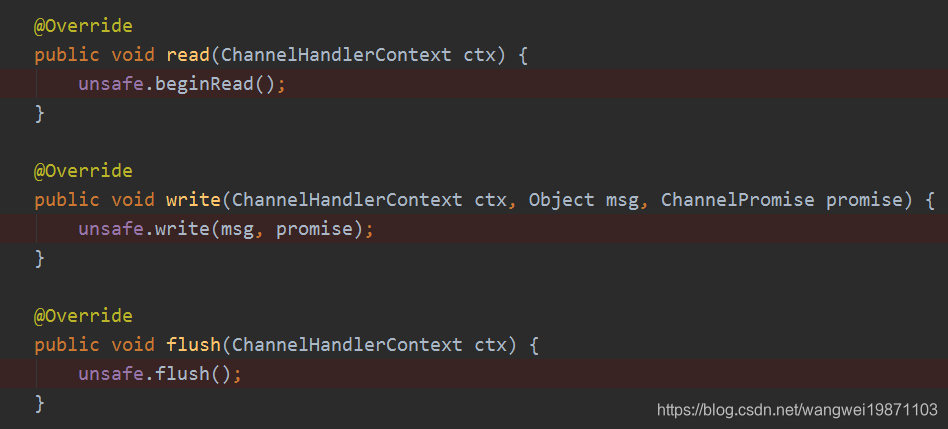
上一篇讲了head的read事件,这次我们说下write事件。
AbstractChannelHandlerContext的write(Object msg)
一般我们就是在处理器channelRead读数据之后要写操作,都是调用这个方法,当然还有其他的重载方法,我们拿这个简单的来分析,看看他到底做了什么:


最后会调用这个通用的方法,可以实现冲刷:
     private void write(Object msg, boolean flush, ChannelPromise promise) {
            ObjectUtil.checkNotNull(msg, "msg");
            try {
                if (isNotValidPromise(promise, true)) {
                    ReferenceCountUtil.release(msg);
                    // cancelled
                    return;
                }
            } catch (RuntimeException e) {
                ReferenceCountUtil.release(msg);
                throw e;
            }
    		//获取前一个符合的出站的上下文
            final AbstractChannelHandlerContext next = findContextOutbound(flush ?
                    (MASK_WRITE | MASK_FLUSH) : MASK_WRITE);
            final Object m = pipeline.touch(msg, next);
            EventExecutor executor = next.executor();
            if (executor.inEventLoop()) {
                if (flush) {
                    next.invokeWriteAndFlush(m, promise);//写并且冲刷
                } else {
                    next.invokeWrite(m, promise);//写
                }
            } else {//提交任务
                final WriteTask task = WriteTask.newInstance(next, m, promise, flush);
                if (!safeExecute(executor, task, promise, m, !flush)) {
                    // We failed to submit the WriteTask. We need to cancel it so we decrement the pending bytes
                    // and put it back in the Recycler for re-use later.
                    //
                    // See https://github.com/netty/netty/issues/8343.
                    task.cancel();
                }
            }
        }
AbstractChannelHandlerContext的invokeWrite0
可以看到最后是调用处理器的wirte方法:
        void invokeWrite(Object msg, ChannelPromise promise) {
            if (invokeHandler()) {
                invokeWrite0(msg, promise);
            } else {
                write(msg, promise);
            }
        }
        private void invokeWrite0(Object msg, ChannelPromise promise) {
            try {
                ((ChannelOutboundHandler) handler()).write(this, msg, promise);
            } catch (Throwable t) {
                notifyOutboundHandlerException(t, promise);
            }
        }
如果你在自定义的出站处理器里没有继续向前传递的话,这个写其实就没啥作用了,因为他没有传递到head上,只有传递到head了,他才会真正的写入出站缓冲区,如果我只是这样,那传递到他这里就断了,这个消息就没了:

所以应该继续往前传,或者你不覆盖这个方法,不覆盖ChannelOutboundHandlerAdapter默认就跳过这个处理器,传到一下个去了:

ChannelOutboundHandlerAdapter的实现:

HeadContext的write
最后会传递到head的write,内部就是调用unsafe写入出站缓冲区:

这个内部具体的实现后面会讲,我们再来看看另外一个冲刷的方法。
AbstractChannelHandlerContext的flush
通常我们再write完后可能会调用flush刷出去,其实他也是寻找前一个出站处理器上下文,然后执行flush方法:
    @Override
        public ChannelHandlerContext flush() {
            final AbstractChannelHandlerContext next = findContextOutbound(MASK_FLUSH);
            EventExecutor executor = next.executor();
            if (executor.inEventLoop()) {
                next.invokeFlush();
            } else {
                Tasks tasks = next.invokeTasks;
                if (tasks == null) {
                    next.invokeTasks = tasks = new Tasks(next);
                }
                safeExecute(executor, tasks.invokeFlushTask, channel().voidPromise(), null, false);
            }

            return this;
        }
AbstractChannelHandlerContext的invokeFlush0
跟write很类似:
      private void invokeFlush() {
            if (invokeHandler()) {
                invokeFlush0();
            } else {
                flush();
            }
        }
          private void invokeFlush0() {
            try {
                ((ChannelOutboundHandler) handler()).flush(this);
            } catch (Throwable t) {
                notifyHandlerException(t);
            }
        }
HeadContext的flush
当然最后还是会调用head的方法,他会将数据通过通道写出去:

具体的步骤后面也会详细说明。
总结
无论是写还是冲刷,都是从一个处理器传递到前一个出站处理器,如果不是head的话,一定要继续传递,否则这个消息就没了,不会写入缓冲区,也不会冲刷出去,除非你自定义的出站处理器做了这些事,比如你调用ctx.channel().unsafe().write(buf,ctx.newPromise())。另外,所有的这些操作最终都是通过通道的unsafe的对象操作的,内部最后还是NIO的通道去做的,具体细节后面一篇说。大致流程可以参考这个:

好了,今天就到这里了,希望对学习理解有帮助,大神看见勿喷,仅为自己的学习理解,能力有限,请多包涵。
Java 面试宝典是大明哥全力打造的 Java 精品面试题,它是一份靠谱、强大、详细、经典的 Java 后端面试宝典。它不仅仅只是一道道面试题,而是一套完整的 Java 知识体系,一套你 Java 知识点的扫盲贴。
它的内容包括:
- 大厂真题:Java 面试宝典里面的题目都是最近几年的高频的大厂面试真题。
- 原创内容:Java 面试宝典内容全部都是大明哥原创,内容全面且通俗易懂,回答部分可以直接作为面试回答内容。
- 持续更新:一次购买,永久有效。大明哥会持续更新 3+ 年,累计更新 1000+,宝典会不断迭代更新,保证最新、最全面。
- 覆盖全面:本宝典累计更新 1000+,从 Java 入门到 Java 架构的高频面试题,实现 360° 全覆盖。
- 不止面试:内容包含面试题解析、内容详解、知识扩展,它不仅仅只是一份面试题,更是一套完整的 Java 知识体系。
- 宝典详情:https://www.yuque.com/chenssy/sike-java/xvlo920axlp7sf4k
- 宝典总览:https://www.yuque.com/chenssy/sike-java/yogsehzntzgp4ly1
- 宝典进展:https://www.yuque.com/chenssy/sike-java/en9ned7loo47z5aw
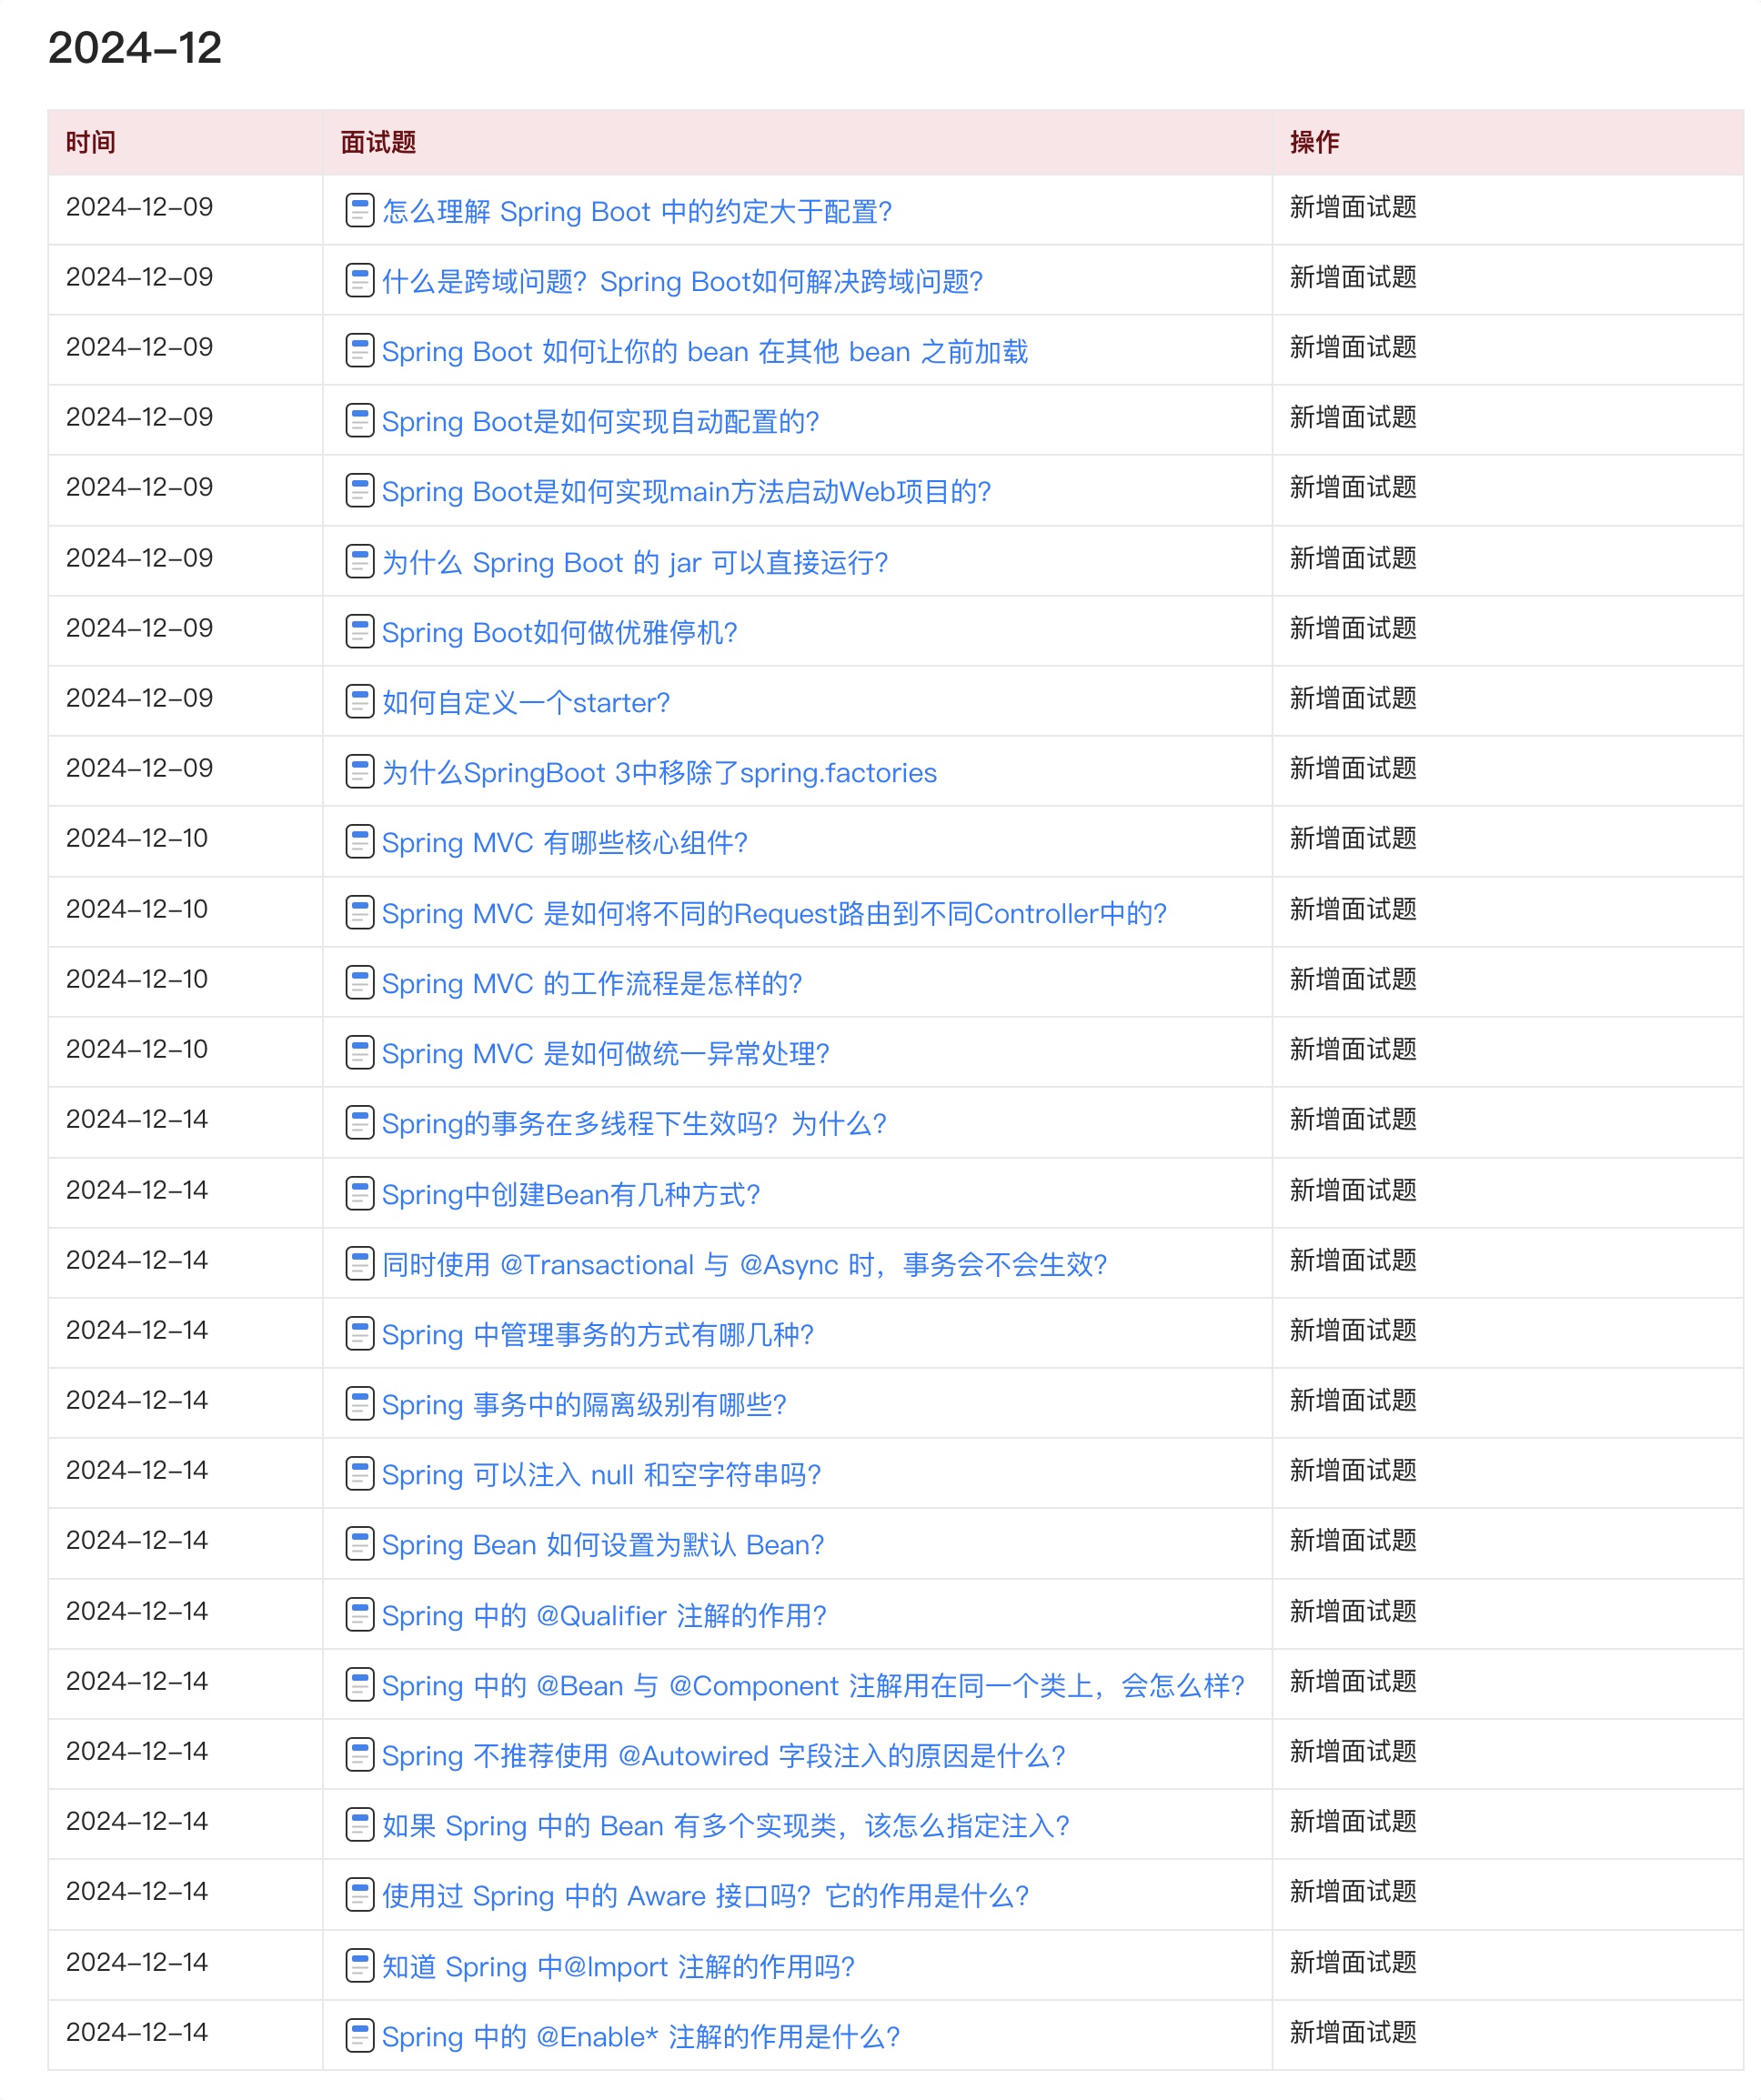
目前 Java 面试宝典累计更新 400+ 道,总字数 42w+。大明哥还在持续更新中,下图是大明哥在 2024-12 月份的更新情况:
想了解详情的小伙伴,扫描下面二维码加大明哥微信【daming091】咨询

同时,大明哥也整理一套目前市面最常见的热点面试题。微信搜[大明哥聊 Java]或扫描下方二维码关注大明哥的原创公众号[大明哥聊 Java] ,回复【面试题】 即可免费领取。

