[TOC]
前言
SocketChannel方法介绍
- 创建一个服务器对象
ServerSocketChannel.open()
 *  服务器对象需要绑定ip和端口,使用`bind(InetSocketAddress )`方法,需要使用传入`InetSocketAddress`,只需传入一个端口号即可;
 *  服务器调用accept()方法获取客户端的连接请求;
 *  通过接收到的客户端连接对象`read(buffer)`方法获取客户端发送的消息。
- 创建客户端
SocketChannel.open()
 *  客户端使用`connect(InetSocketAddress server)`方法,连接对应的服务器;
 *  通过`write(buffer)`方法发送消息到连接的服务器
一、阻塞模式
1.1 概念
-
阻塞模式下,相关方法都会导致线程暂停
- ServerSocketChannel.accept 会在没有连接建立时让线程暂停
- SocketChannel.read 会在没有数据可读时让线程暂停
- 阻塞的表现其实就是线程暂停了,暂停期间不会占用 cpu,但线程相当于闲置
-
单线程下,阻塞方法之间相互影响,几乎不能正常工作,需要多线程支持
-
但多线程下,有新的问题,体现在以下方面
- 32 位 jvm 一个线程 320k,64 位 jvm 一个线程 1024k,如果连接数过多,必然导致 OOM,并且线程太多,反而会因为频繁上下文切换导致性能降低
- 可以采用线程池技术来减少线程数和线程上下文切换,但治标不治本,如果有很多连接建立,但长时间 inactive,会阻塞线程池中所有线程,因此不适合长连接,只适合短连接
1.2 代码演示
- 服务端代码
    import lombok.extern.slf4j.Slf4j;

    import java.io.IOException;
    import java.net.InetSocketAddress;
    import java.nio.ByteBuffer;
    import java.nio.channels.ServerSocketChannel;
    import java.nio.channels.SocketChannel;
    import java.util.ArrayList;
    import java.util.List;

    import static com.lilinchao.nio.util.ByteBufferUtil.debugRead;

    /**
     * @author lilinchao
     * @date 2022/5/31
     * @description 使用 nio 来理解阻塞模式, 单线程  服务端
     **/
    @Slf4j
    public class ServerDemo {
        public static void main(String[] args) throws IOException {
            //创建ByteBuffer缓冲区
            ByteBuffer buffer = ByteBuffer.allocate(16);
            //1. 创建服务器
            ServerSocketChannel ssc = ServerSocketChannel.open();
            //2.绑定监听端口
            ssc.bind(new InetSocketAddress(8080));
            //3.连接集合
            List<SocketChannel> channels = new ArrayList<>();
            //循环接收客户端的连接
            while (true){
                //4. accept建立与客户端连接,SocketChannel 用来与客户端之间通信
                log.debug("connecting...");
                //阻塞方法,没有连接时,会阻塞线程
                SocketChannel sc = ssc.accept();
                log.debug("connected... {}",sc);
                channels.add(sc);
                // 循环遍历集合中的连接
                for (SocketChannel channel : channels){
                    // 处理通道中的数据
                    // 当通道中没有数据可读时,会阻塞线程
                    log.debug("befor read... {}",channel);
                    channel.read(buffer);
                    //切换到读模式
                    buffer.flip();
                    debugRead(buffer);
                    //切换到写模式
                    buffer.clear();
                    log.debug("after read... {}",channel);
                }
            }

        }
    }
- 客户端代码
    import java.io.IOException;
    import java.net.InetSocketAddress;
    import java.nio.channels.SocketChannel;

    /**
     * @author lilinchao
     * @date 2022/5/31
     * @description 1.0
     **/
    public class ClientDemo {
        public static void main(String[] args) throws IOException {
            SocketChannel sc = SocketChannel.open();
            sc.connect(new InetSocketAddress("localhost",8080));
            System.out.println("waiting...");
        }
    }
1.3 结果分析
1、启动服务端程序

- 当刚启动服务端程序时,会在accept()方法产生阻塞,等待客户端的连接。
客户端-服务器建立连接前,服务器端因accept阻塞
2、通过Debug模式启动客户端

- 客户端在acccept()方法没有继续阻塞,向下运行;
- 在read()方法等待读入数据,当客户端没有向服务器端发送数据时,会在此产生阻塞;
客户端-服务器建立连接后,客户端发送消息前,服务器端因通道为空被阻塞
3、客户端向服务端发送数据
- 向服务端发送数据

sc.write(Charset.defaultCharset().encode("hello!"));
- 控制台打印结果

客户端发送数据后,服务器处理通道中的数据。再次进入循环时,再次被accept阻塞
4、之前的客户端再次发送消息
服务器端因为被accept阻塞 ,无法处理之前客户端发送到通道中的信息,影响了整个程序的正常执行。
二、非阻塞模式
2.1 概念
-
非阻塞模式下,相关方法都会不会让线程暂停
- 在 ServerSocketChannel.accept 在没有连接建立时,会返回 null,继续运行
- SocketChannel.read 在没有数据可读时,会返回 0,但线程不必阻塞,可以去执行其它 SocketChannel 的 read 或是去执行 ServerSocketChannel.accept
- 写数据时,线程只是等待数据写入 Channel 即可,无需等 Channel 通过网络把数据发送出去
-
但非阻塞模式下,即使没有连接建立,和可读数据,线程仍然在不断运行,白白浪费了 cpu
-
数据复制过程中,线程实际还是阻塞的(AIO 改进的地方)
2.2 代码演示
-
服务端代码
-
可以通过
ServerSocketChannel的configureBlocking(false)方法将 获得连接设置为非阻塞的 。此时若没有连接,accept会返回null
-
可以通过
SocketChannel的configureBlocking(false)方法将从通道中 读取数据设置为非阻塞的 。若此时通道中没有数据可读,read会返回-1
-
    import lombok.extern.slf4j.Slf4j;

    import java.io.IOException;
    import java.net.InetSocketAddress;
    import java.nio.ByteBuffer;
    import java.nio.channels.ServerSocketChannel;
    import java.nio.channels.SocketChannel;
    import java.util.ArrayList;
    import java.util.List;

    import static com.lilinchao.nio.util.ByteBufferUtil.debugRead;

    /**
     * @author lilinchao
     * @date 2022/5/31
     * @description 使用 nio 来理解非阻塞模式  服务端
     **/
    @Slf4j
    public class ServerDemo2 {
        public static void main(String[] args) throws IOException {
            //创建ByteBuffer缓冲区
            ByteBuffer buffer = ByteBuffer.allocate(16);
            //1. 创建服务器
            ServerSocketChannel ssc = ServerSocketChannel.open();
            ssc.configureBlocking(false);   //非阻塞模式
            //2.绑定监听端口
            ssc.bind(new InetSocketAddress(8080));
            //3.连接集合
            List<SocketChannel> channels = new ArrayList<>();
            //循环接收客户端的连接
            while (true){
                //4. accept建立与客户端连接,SocketChannel 用来与客户端之间通信
                SocketChannel sc = ssc.accept();    //非阻塞,线程还会继续运行,如果没有连接建立,但sc是null
                if(sc != null){
                    log.debug("connected... {}",sc);
                    sc.configureBlocking(false);    //非阻塞模式
                    channels.add(sc);
                }
                // 循环遍历集合中的连接
                for (SocketChannel channel : channels){
                    //5. 接收客户端发送的数据
                    int read = channel.read(buffer);
                    if(read > 0){
                        //切换到读模式
                        buffer.flip();
                        debugRead(buffer);
                        //切换到写模式
                        buffer.clear();
                        log.debug("after read... {}",channel);
                    }
                }
            }
        }
    }
- 客户端代码不变
该方法虽然可以解决阻塞模式下的问题,但是因为设置为了非阻塞,会一直执行while(true)中的代码,CPU一直处于忙碌状态,会使得性能变低,所以实际情况中不使用这种方法处理请求。
Java 面试宝典是大明哥全力打造的 Java 精品面试题,它是一份靠谱、强大、详细、经典的 Java 后端面试宝典。它不仅仅只是一道道面试题,而是一套完整的 Java 知识体系,一套你 Java 知识点的扫盲贴。
它的内容包括:
- 大厂真题:Java 面试宝典里面的题目都是最近几年的高频的大厂面试真题。
- 原创内容:Java 面试宝典内容全部都是大明哥原创,内容全面且通俗易懂,回答部分可以直接作为面试回答内容。
- 持续更新:一次购买,永久有效。大明哥会持续更新 3+ 年,累计更新 1000+,宝典会不断迭代更新,保证最新、最全面。
- 覆盖全面:本宝典累计更新 1000+,从 Java 入门到 Java 架构的高频面试题,实现 360° 全覆盖。
- 不止面试:内容包含面试题解析、内容详解、知识扩展,它不仅仅只是一份面试题,更是一套完整的 Java 知识体系。
- 宝典详情:https://www.yuque.com/chenssy/sike-java/xvlo920axlp7sf4k
- 宝典总览:https://www.yuque.com/chenssy/sike-java/yogsehzntzgp4ly1
- 宝典进展:https://www.yuque.com/chenssy/sike-java/en9ned7loo47z5aw
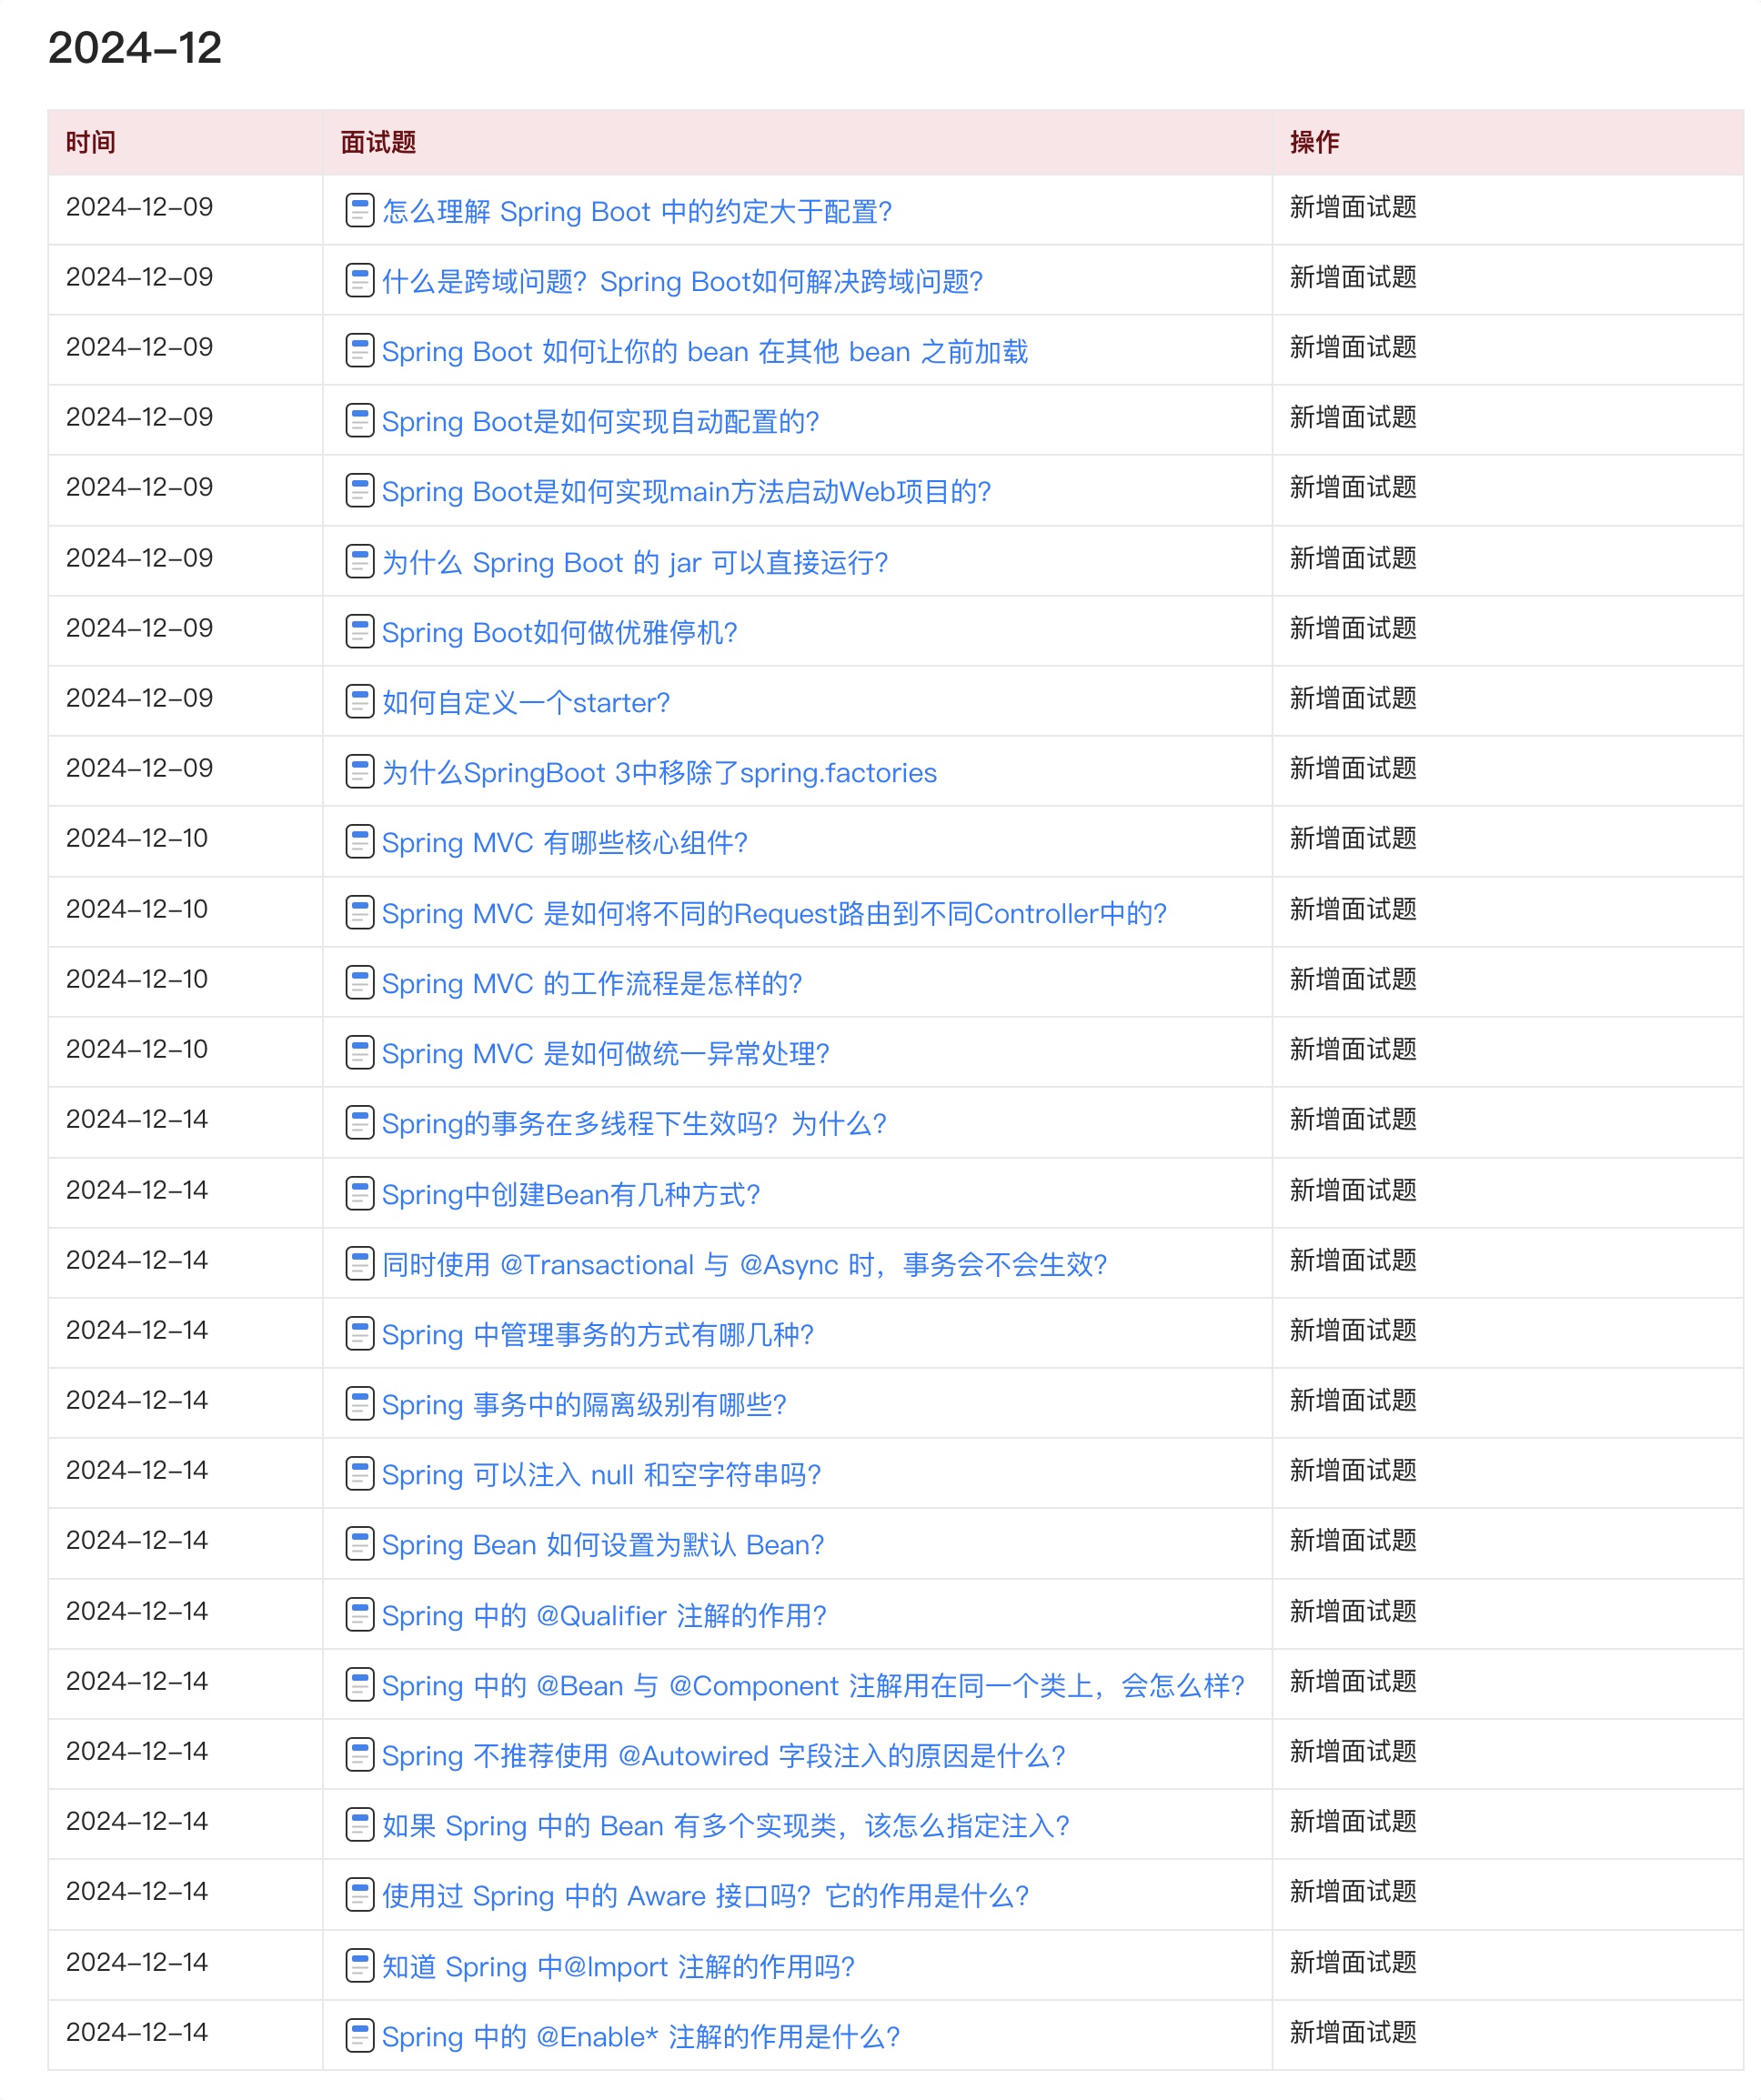
目前 Java 面试宝典累计更新 400+ 道,总字数 42w+。大明哥还在持续更新中,下图是大明哥在 2024-12 月份的更新情况:

想了解详情的小伙伴,扫描下面二维码加大明哥微信【daming091】咨询

同时,大明哥也整理一套目前市面最常见的热点面试题。微信搜[大明哥聊 Java]或扫描下方二维码关注大明哥的原创公众号[大明哥聊 Java] ,回复【面试题】 即可免费领取。

