令牌配置
接下来的内容是:
- 基本的Token参数配置
- 使用jwt替换默认的token
- 扩展和解析jwt的信息
token 的处理在认证服务器处理的。之前已经配置了资源服务器,现在来自定义认证服务器
spirng boot 2 的自动配置文件和1.5的不一样
直接跟着视频走是不会成功的,原因如下
OAuth2AuthorizationServerConfiguration 类是 @EnableAuthorizationServer 的自动配置类;
如果我们 继承了 AuthorizationServerConfigurerAdapter,那么该类将不会被初始化,认证服务器将不能正常工作
(看源码中的条件注解声明得知)
这是根据自动配置类简化而来的配置。正常使用
    package cn.mrcode.imooc.springsecurity.securityapp;

    /**
     * ${desc}
     * @author zhuqiang
     * @version 1.0.1 2018/8/7 10:52
     * @date 2018/8/7 10:52
     * @since 1.0
     */
    @Configuration
    @EnableAuthorizationServer
    public class MyAuthorizationServerConfig extends AuthorizationServerConfigurerAdapter {
        private final AuthenticationManager authenticationManager;
    //    @Autowired
    //    private PasswordEncoder passwordEncoder;

        public MyAuthorizationServerConfig(
                AuthenticationConfiguration authenticationConfiguration) throws Exception {
            this.authenticationManager = authenticationConfiguration.getAuthenticationManager();
        }

        @Override
        public void configure(ClientDetailsServiceConfigurer clients) throws Exception {
            clients.inMemory()
                    .withClient("myid")
                    .secret("myid")
                    .redirectUris("http://example.com", "http://ora.com")
                    .and()
                    .withClient("myid2")
                    .secret("myid2")
                    .redirectUris("http://example.com", "localhost:8080")
                    .authorizedGrantTypes("refresh_token", "password")
                    .accessTokenValiditySeconds(7200)
                    .scopes("all", "read", "write");
        }

        @Override
        public void configure(AuthorizationServerEndpointsConfigurer endpoints) throws Exception {
            endpoints.authenticationManager(this.authenticationManager);
        }

        @Override
        public void configure(AuthorizationServerSecurityConfigurer security) throws Exception {
            // 这里使用什么密码需要 根据上面配置client信息里面的密码类型决定
            // 目前上面配置的是无加密的密码
            security.passwordEncoder(NoOpPasswordEncoder.getInstance());
        }
    }
抽成配置
下面记录下一些注意的地方
yml中数组和对象嵌套的写法如下:
    imooc:
      security:
        oauth2:
          clients:
            -
              clientId: myid
              clientSecret: myid
              redirectUris:
                - "http://example.com"
                - "http://ora.com"
              accessTokenValiditySeconds: 0
            -
              clientId: myid2
              clientSecret: myid2
              authorizedGrantTypes: ["refresh_token", "password"]
              redirectUris:
                - "http://example.com"
                - "localhost:8080"
              scopes: ["all", "read", "write"]
              accessTokenValiditySeconds: 7200
配置类对应,注意看下面的数组。都是默认为空数组,这样不会导致代码中npe
    public class OAuth2Properties {
        private OAuth2ClientProperties[] clients = {};

    public class OAuth2ClientProperties {
        private String clientId;
        private String clientSecret;
        private String[] authorizedGrantTypes = {};
        private String[] redirectUris = {}; // 信任的回调域
        private String[] scopes = {};
        private int accessTokenValiditySeconds; // token有效期
配置使用的地方
    @Override
    public void configure(ClientDetailsServiceConfigurer clients) throws Exception {
        InMemoryClientDetailsServiceBuilder inMemory = clients.inMemory();
        OAuth2ClientProperties[] clientsInCustom = securityProperties.getOauth2().getClients();
        for (OAuth2ClientProperties p : clientsInCustom) {
            inMemory.withClient(p.getClientId())
                    .secret(p.getClientSecret())
                    .redirectUris(p.getRedirectUris())
                    .authorizedGrantTypes(p.getAuthorizedGrantTypes())
                    .accessTokenValiditySeconds(p.getAccessTokenValiditySeconds())
                    .scopes(p.getScopes());
        }
        logger.info(Arrays.toString(clientsInCustom));
    }
tokenStore 使用redis来存储
上面的配置都是使用的内存来存储令牌信息;令牌的存储和获取比较频繁,为了能持久化。使用redis
在认证服务配置类中配置tokenStore即可
    cn.mrcode.imooc.springsecurity.securityapp.MyAuthorizationServerConfig

    @Autowired(required = false)
    public TokenStore tokenStore;

    @Override
    public void configure(AuthorizationServerEndpointsConfigurer endpoints) throws Exception {
        endpoints.authenticationManager(this.authenticationManager);
        endpoints.tokenStore(tokenStore);
    }
TokenStore 需要使用的地方初始化对象,也就是app中
    package cn.mrcode.imooc.springsecurity.securityapp;

    import cn.mrcode.imooc.springsecurity.securitycore.MyRedisTokenStore;

    @Configuration
    public class TokenStoreConfig {
        @Autowired
        private RedisConnectionFactory redisConnectionFactory;

        @Bean
        public TokenStore tokenStore() {
            return new MyRedisTokenStore(redisConnectionFactory);
        }
    }
注意在spring boot 2.0.4 中;使用默认的 RedisTokenStore 在存储的时候会出现异常;
解决方案:把RedisTokenStore的代码完全copy一份,然后把 storeAccessToken 方法中调用
conn.set的代码全部缓存 conn.stringCommands().set
    @Override
       public void storeAccessToken(OAuth2AccessToken token, OAuth2Authentication authentication) {
           byte[] serializedAccessToken = serialize(token);
           byte[] serializedAuth = serialize(authentication);
           byte[] accessKey = serializeKey(ACCESS + token.getValue());
           byte[] authKey = serializeKey(AUTH + token.getValue());
           byte[] authToAccessKey = serializeKey(AUTH_TO_ACCESS + authenticationKeyGenerator.extractKey(authentication));
           byte[] approvalKey = serializeKey(UNAME_TO_ACCESS + getApprovalKey(authentication));
           byte[] clientId = serializeKey(CLIENT_ID_TO_ACCESS + authentication.getOAuth2Request().getClientId());

           RedisConnection conn = getConnection();
           try {
               conn.openPipeline();
               // 这里 set的时候,子类都不支持存储自己数组
               conn.stringCommands().set(accessKey, serializedAccessToken);
一篇不错的redis的配置文章:https://majing.io/posts/10000020931206
切换到jedis中还是会出现一样的错误,所以不用测试jedis了;就是依赖包不兼容的问题,
Java 面试宝典是大明哥全力打造的 Java 精品面试题,它是一份靠谱、强大、详细、经典的 Java 后端面试宝典。它不仅仅只是一道道面试题,而是一套完整的 Java 知识体系,一套你 Java 知识点的扫盲贴。
它的内容包括:
- 大厂真题:Java 面试宝典里面的题目都是最近几年的高频的大厂面试真题。
- 原创内容:Java 面试宝典内容全部都是大明哥原创,内容全面且通俗易懂,回答部分可以直接作为面试回答内容。
- 持续更新:一次购买,永久有效。大明哥会持续更新 3+ 年,累计更新 1000+,宝典会不断迭代更新,保证最新、最全面。
- 覆盖全面:本宝典累计更新 1000+,从 Java 入门到 Java 架构的高频面试题,实现 360° 全覆盖。
- 不止面试:内容包含面试题解析、内容详解、知识扩展,它不仅仅只是一份面试题,更是一套完整的 Java 知识体系。
- 宝典详情:https://www.yuque.com/chenssy/sike-java/xvlo920axlp7sf4k
- 宝典总览:https://www.yuque.com/chenssy/sike-java/yogsehzntzgp4ly1
- 宝典进展:https://www.yuque.com/chenssy/sike-java/en9ned7loo47z5aw
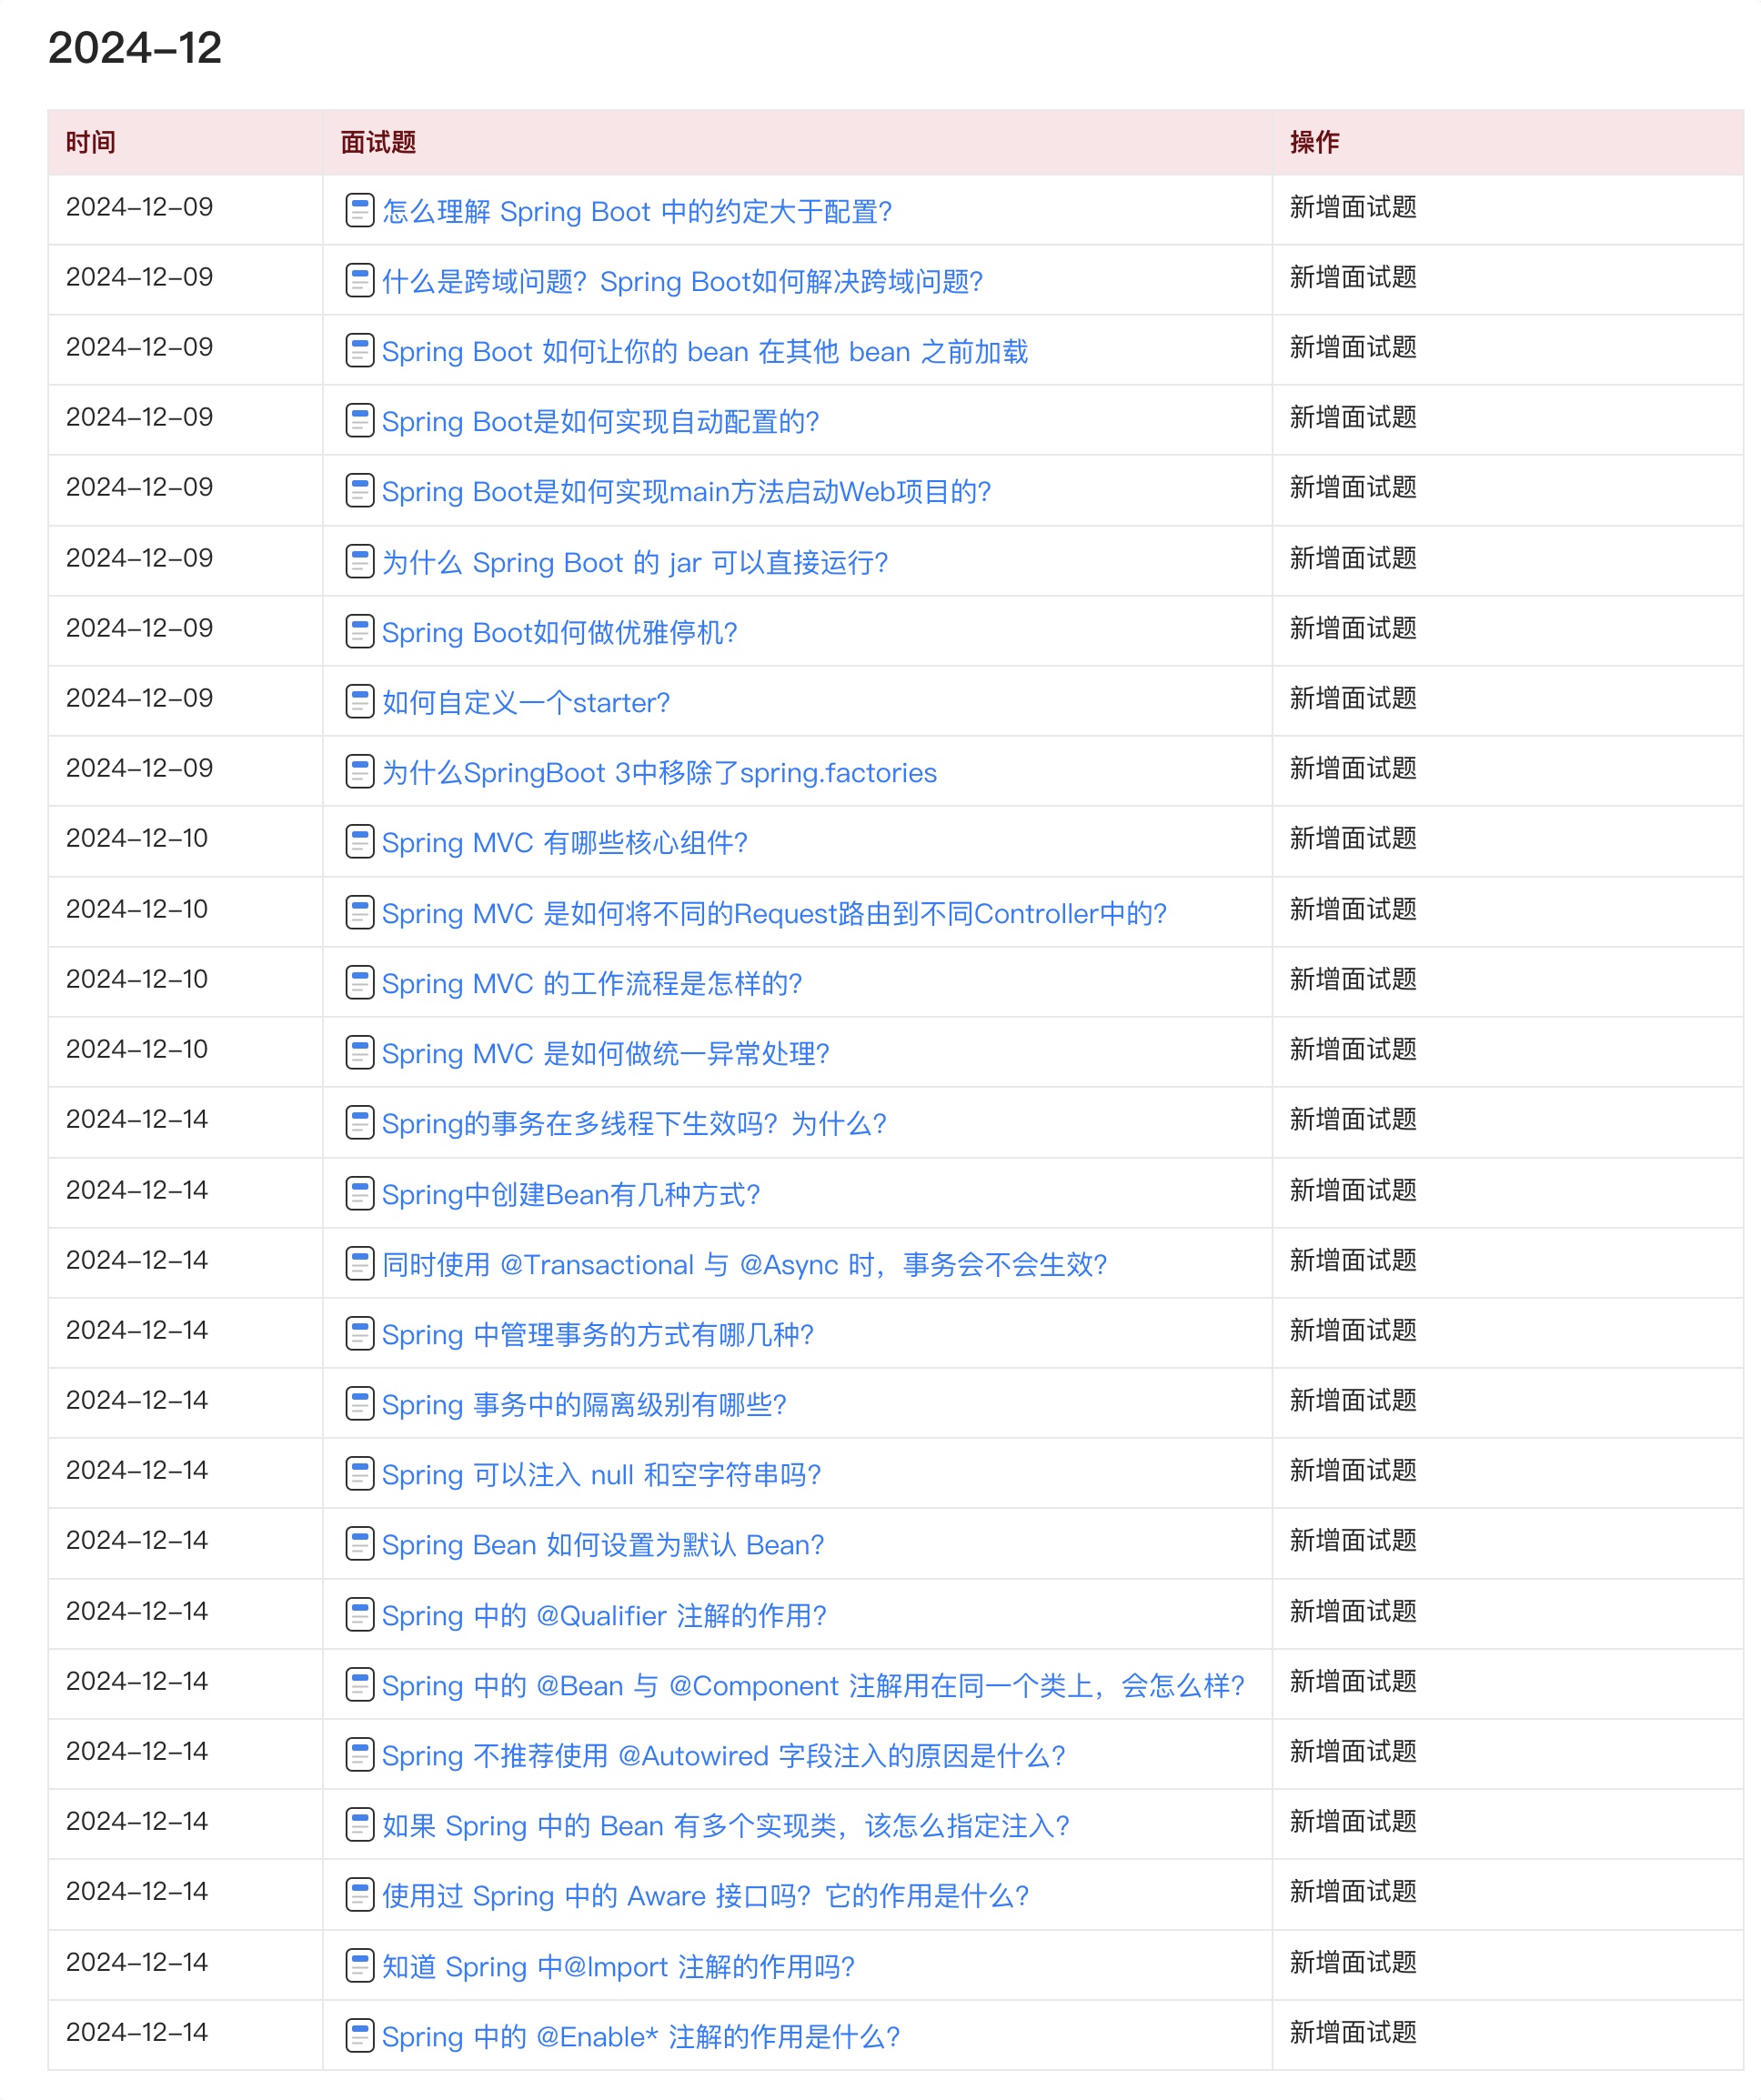
目前 Java 面试宝典累计更新 400+ 道,总字数 42w+。大明哥还在持续更新中,下图是大明哥在 2024-12 月份的更新情况:

想了解详情的小伙伴,扫描下面二维码加大明哥微信【daming091】咨询

同时,大明哥也整理一套目前市面最常见的热点面试题。微信搜[大明哥聊 Java]或扫描下方二维码关注大明哥的原创公众号[大明哥聊 Java] ,回复【面试题】 即可免费领取。

