基于JWT实现SSO单点登录2
client1 和 client2
添加依赖
    dependencies {
        compile('org.springframework.boot:spring-boot-starter-security')
        // @EnableOAuth2Sso 是该包的注解
        compile 'org.springframework.security.oauth.boot:spring-security-oauth2-autoconfigure'

        compile('org.springframework.boot:spring-boot-starter-web')
        compile 'org.springframework.security.oauth:spring-security-oauth2'
        compile 'org.springframework.security:spring-security-jwt'
        testCompile('org.springframework.boot:spring-boot-starter-test')
        testCompile('org.springframework.security:spring-security-test')
    }
    package cn.mrcode.imooc.springsecurity.sso.ssoclient1;

    import org.springframework.boot.SpringApplication;
    import org.springframework.boot.autoconfigure.SpringBootApplication;
    import org.springframework.boot.autoconfigure.security.oauth2.client.EnableOAuth2Sso;
    import org.springframework.security.core.Authentication;
    import org.springframework.web.bind.annotation.GetMapping;
    import org.springframework.web.bind.annotation.RestController;

    @SpringBootApplication
    @RestController
    @EnableOAuth2Sso // 开启单点登录
    public class SsoClient1Application {

        public static void main(String[] args) {
            SpringApplication.run(SsoClient1Application.class, args);
        }

        //编写一个获取当前服务器的用户信息控制器
        @GetMapping("/user")
        public Authentication user(Authentication user){
            return user;
        }
    }
application.yml
client1 和 client2 不同的配置就是 client 信息,还有端口号,context-path(其实这里context-path是可以不用配置的)
    security:
      oauth2:
        client:
          clientId: myid1
          clientSecret: myid1
          user-authorization-uri: http://127.0.0.1:9999/server/oauth/authorize
          access-token-uri: http://127.0.0.1:9999/server/oauth/token
        resource:
          jwt:
            key-uri: http://127.0.0.1:9999/server/oauth/token_key
          user-info-uri: http://127.0.0.1:9999/server/user
          token-info-uri: http://127.0.0.1:9999/server/oauth/check_token
          preferTokenInfo: false

    server:
      port: 8080
      servlet:
        context-path: /client1
上面的属性特别是:user-info-uri 和 token-info-uri 不配置就会报错;可以参考官网文档
    // 具体的配置属性在该类中有检查
    org.springframework.boot.autoconfigure.security.oauth2.resource.ResourceServerProperties
以上配置产考官网文档,因为spring boot2 和 1.5 不一样了
https://docs.spring.io/spring-security-oauth2-boot/docs/current/reference/html5/#boot-features-security-oauth2-single-sign-on
配置一个 首页 static/index.html;
client1 和 client2 唯一不同的就是,我们要实现,在client1上跳转client2;
client2上跳转到clinet1上;所以首页中的跳转地址不一样而已
    <!DOCTYPE html>
    <html>
    <head>
    <meta charset="UTF-8">
    <title>SSO Client1</title>
    </head>
    <body>
        <h1>SSO Demo Client1</h1>
        <a href="http://localhost:8060/client2/index.html">访问Client2</a>
    </body>
    </html>
测试
启动server,client1 ;
在启动client1的时候会去server拿jwtkey;
-
这个时候会跳转到 端口9999的认证服务器,
在天厨的basic登录框中填入user,123456 (由于认证服务器没有配置自定义用户信息,默认用户)
如果报以下错误,去把认证服务器中的client信息授权跳转域增加一个路径 http://localhost:8080/client1/login
        OAuth Error
        error="invalid_grant", error_description="Invalid redirect: http://localhost:8080/client1/login does not match one of the registered values: [http://example.com, http://ora.com]"
server配置更改
        @Override
        public void configure(ClientDetailsServiceConfigurer clients) throws Exception {
            clients.inMemory()
                    .withClient("myid1")
                    .secret("myid1")
                    .authorizedGrantTypes("authorization_code", "refresh_token")
                    .scopes("all")
                    .redirectUris(
                            "http://localhost:8080/client1/login")
                    .and()
                    .withClient("myid2")
                    .secret("myid2")
                    .authorizedGrantTypes("authorization_code", "refresh_token")
                    .scopes("all")
                    .redirectUris(
                            "http://localhost:8060/client2/login");
        }
        还有一个地方,由于security5+必须要配置密码策略,否则在登录提交后会在后台报错,找不到策略id
        @Override
        public void configure(AuthorizationServerSecurityConfigurer security) throws Exception {
            security.passwordEncoder(NoOpPasswordEncoder.getInstance()); // 密码加密策略
            security.tokenKeyAccess("isAuthenticated()");
        }
-
在认证服务器登录完成后,会默认跳转回http://localhost:8080/client1/login
框架带着code完成剩下的步骤,最终默认跳转到首页。之前讲原理的时候说过的
为什么是login?之前原理中有讲述,客户端会拦截到你需要登录才能继续访问,于是跳转到了login
login发现自己是一个sso资源服务器,就跳转到了认证服务器 -
访问地址 http://localhost:8080/client1/user 打印出当前登录的用户信息
这个时候就可以把 启动server,client1 ,client2 全部启动,
测试登录后 点击首页的跳转连接,查看互相跳转不需要再次登录的效果;
并对比访问各自的user信息查看tokenValue是否一致;
完成了两个系统的单点登录效果;
目前有我一个问题没有想明白:在clinet1登录后,当访问client2的时候也没有带什么东西为什么就中的myid2是和user关联的?
    通过对获取授权码的端点/oauth/authorize源码的跟中。
    org.springframework.security.oauth2.provider.endpoint.AuthorizationEndpoint#authorize

    发现进入该方法的时候就已经有Principal信息了并且是user的信息;
    至于这个信息是怎么来的,有必要再去跟下security的最前面看这个信息是怎么被认定的;暂时不跟了,太耗时间了
然后这里体验之后会发现两个问题:
- 认证服务器的登录页面 是basci
期望效果:使用自定义的登录页面
2. 每次都需要授权
期望效果:第一次登录的时候授权,后面跳转到其他应用不需要手动点击授权了
3. 不是自定义的用户
自定义登录页面和用户自定义
由于登录页面是在认证服务器上,所以修改认证服务器配置;其他的个性化配置,自己以后根据业务去细化
    package cn.mrcode.imooc.springsecurity.sso.ssoserver;

    @Configuration
    public class MyWebSecurityConfigurerAdapter extends WebSecurityConfigurerAdapter {
        @Autowired
        private UserDetailsService userDetailsService;

        @Bean
        public PasswordEncoder passwordEncoder() {
            return new BCryptPasswordEncoder();
        }

        @Override
        protected void configure(HttpSecurity http) throws Exception {
            http
    //                .httpBasic()
                    .formLogin()  // 更改为form表单登录
                    .and()
                    // 所有的请求都必须授权后才能访问
                    .authorizeRequests()
                    .anyRequest()
                    .authenticated();
            ;
        }

        @Override
        protected void configure(AuthenticationManagerBuilder auth) throws Exception {
            auth.userDetailsService(userDetailsService).passwordEncoder(passwordEncoder());
        }
    }
自定义用户信息;无非就是之前讲过的自定义 userDetailsService
    package cn.mrcode.imooc.springsecurity.sso.ssoserver;

    import org.slf4j.Logger;
    import org.slf4j.LoggerFactory;
    import org.springframework.beans.factory.annotation.Autowired;
    import org.springframework.security.core.authority.AuthorityUtils;
    import org.springframework.security.core.userdetails.User;
    import org.springframework.security.core.userdetails.UserDetails;
    import org.springframework.security.core.userdetails.UserDetailsService;
    import org.springframework.security.core.userdetails.UsernameNotFoundException;
    import org.springframework.security.crypto.password.PasswordEncoder;
    import org.springframework.stereotype.Component;

    /**
     * @author : zhuqiang
     * @version : V1.0
     * @date : 2018/8/12 14:16
     */
    @Component
    public class SsoUserDetailsService implements UserDetailsService {
        Logger logger = LoggerFactory.getLogger(getClass());

        @Autowired
        private PasswordEncoder passwordEncoder;

        @Override
        public UserDetails loadUserByUsername(String username) throws UsernameNotFoundException {
            String password = passwordEncoder.encode("123456");
            logger.info("用户名 {},数据库密码{}", username, password);
            User admin = new User(username,
    //                              "{noop}123456",
                    password,
                    true, true, true, true,
                    AuthorityUtils.commaSeparatedStringToAuthorityList(""));
            return admin;
        }
    }
自动授权
自动授权的思路:
- 跟踪源码,找到自动授权页面的产出处
- 想办法跳过授权,或自动授权
    通过全局搜索授权页面的标题文字 OAuth Approval
    定位到如下的类
    org.springframework.security.oauth2.provider.endpoint.WhitelabelApprovalEndpoint

    再看谁调用了上面这个类,找到类配置初始化对象的源码
    org.springframework.security.oauth2.config.annotation.web.configuration.AuthorizationServerEndpointsConfiguration#whitelabelApprovalEndpoint

    @Bean
    public WhitelabelApprovalEndpoint whitelabelApprovalEndpoint() {
      return new WhitelabelApprovalEndpoint();
    }
根据上面的源码来看,没有提供配置可替换的配置,那么视频中说过@FrameworkEndpoint注解
的优先级没有我们自定义的优先级高,我们定义同样的配置控制器路径即可;
这里和视频中的源码不太一样了。 在新版中,创建授权页html的方法是一个 protected String createTemplate ;
意味着我们可以继承该类,然后重写模板即可;
思路永远会被现实打脸;在实现过程中发现不能直接继承,下面代码中的注释部分是新加的,其他的代码全部拷贝过来了
    package cn.mrcode.imooc.springsecurity.sso.ssoserver;

    import org.springframework.security.oauth2.provider.AuthorizationRequest;
    import org.springframework.security.oauth2.provider.endpoint.WhitelabelApprovalEndpoint;
    import org.springframework.security.web.csrf.CsrfToken;
    import org.springframework.web.bind.annotation.RequestMapping;
    import org.springframework.web.bind.annotation.RestController;
    import org.springframework.web.bind.annotation.SessionAttributes;
    import org.springframework.web.servlet.ModelAndView;
    import org.springframework.web.servlet.View;
    import org.springframework.web.servlet.support.ServletUriComponentsBuilder;
    import org.springframework.web.util.HtmlUtils;

    import javax.servlet.http.HttpServletRequest;
    import javax.servlet.http.HttpServletResponse;
    import java.util.Map;

    /**
     * 授权确认服务:不能继承 WhitelabelApprovalEndpoint,因为FrameworkEndpoint会被扫描,就会存在两个一样的地址;报错
     * @author : zhuqiang
     * @version : V1.0
     * @date : 2018/8/12 14:32
     * @see WhitelabelApprovalEndpoint
     */
    @RestController
    @SessionAttributes("authorizationRequest")
    public class MyWhitelabelApprovalEndpoint {
        @RequestMapping("/oauth/confirm_access")
        public ModelAndView getAccessConfirmation(Map<String, Object> model, HttpServletRequest request) throws Exception {
            final String approvalContent = createTemplate(model, request);
            if (request.getAttribute("_csrf") != null) {
                model.put("_csrf", request.getAttribute("_csrf"));
            }
            View approvalView = new View() {
                @Override
                public String getContentType() {
                    return "text/html";
                }

                @Override
                public void render(Map<String, ?> model, HttpServletRequest request, HttpServletResponse response) throws Exception {
                    response.setContentType(getContentType());
                    response.getWriter().append(approvalContent);
                }
            };
            return new ModelAndView(approvalView, model);
        }

        protected String createTemplate(Map<String, Object> model, HttpServletRequest request) {
            AuthorizationRequest authorizationRequest = (AuthorizationRequest) model.get("authorizationRequest");
            String clientId = authorizationRequest.getClientId();

            StringBuilder builder = new StringBuilder();
            // 让body不显示
            builder.append("<html><body style='display:none;'><h1>OAuth Approval</h1>");
            builder.append("<p>Do you authorize \"").append(HtmlUtils.htmlEscape(clientId));
            builder.append("\" to access your protected resources?</p>");
            builder.append("<form id=\"confirmationForm\" name=\"confirmationForm\" action=\"");

            String requestPath = ServletUriComponentsBuilder.fromContextPath(request).build().getPath();
            if (requestPath == null) {
                requestPath = "";
            }

            builder.append(requestPath).append("/oauth/authorize\" method=\"post\">");
            builder.append("<input name=\"user_oauth_approval\" value=\"true\" type=\"hidden\"/>");

            String csrfTemplate = null;
            CsrfToken csrfToken = (CsrfToken) (model.containsKey("_csrf") ? model.get("_csrf") : request.getAttribute("_csrf"));
            if (csrfToken != null) {
                csrfTemplate = "<input type=\"hidden\" name=\"" + HtmlUtils.htmlEscape(csrfToken.getParameterName()) +
                        "\" value=\"" + HtmlUtils.htmlEscape(csrfToken.getToken()) + "\" />";
            }
            if (csrfTemplate != null) {
                builder.append(csrfTemplate);
            }

            String authorizeInputTemplate = "<label><input name=\"authorize\" value=\"Authorize\" type=\"submit\"/></label></form>";

            if (model.containsKey("scopes") || request.getAttribute("scopes") != null) {
                builder.append(createScopes(model, request));
                builder.append(authorizeInputTemplate);
            } else {
                builder.append(authorizeInputTemplate);
                builder.append("<form id=\"denialForm\" name=\"denialForm\" action=\"");
                builder.append(requestPath).append("/oauth/authorize\" method=\"post\">");
                builder.append("<input name=\"user_oauth_approval\" value=\"false\" type=\"hidden\"/>");
                if (csrfTemplate != null) {
                    builder.append(csrfTemplate);
                }
                builder.append("<label><input name=\"deny\" value=\"Deny\" type=\"submit\"/></label></form>");
            }

            // 添加自动提交操作
            builder.append("<script>document.getElementById('confirmationForm').submit()</script>");
            builder.append("</body></html>");

            return builder.toString();
        }

        private CharSequence createScopes(Map<String, Object> model, HttpServletRequest request) {
            StringBuilder builder = new StringBuilder("<ul>");
            @SuppressWarnings("unchecked")
            Map<String, String> scopes = (Map<String, String>) (model.containsKey("scopes") ?
                    model.get("scopes") : request.getAttribute("scopes"));
            for (String scope : scopes.keySet()) {
                String approved = "true".equals(scopes.get(scope)) ? " checked" : "";
                String denied = !"true".equals(scopes.get(scope)) ? " checked" : "";
                scope = HtmlUtils.htmlEscape(scope);

                builder.append("<li><div class=\"form-group\">");
                builder.append(scope).append(": <input type=\"radio\" name=\"");
                builder.append(scope).append("\" value=\"true\"").append(approved).append(">Approve</input> ");
                builder.append("<input type=\"radio\" name=\"").append(scope).append("\" value=\"false\"");
                builder.append(denied).append(">Deny</input></div></li>");
            }
            builder.append("</ul>");
            return builder.toString();
        }
    }
Java 面试宝典是大明哥全力打造的 Java 精品面试题,它是一份靠谱、强大、详细、经典的 Java 后端面试宝典。它不仅仅只是一道道面试题,而是一套完整的 Java 知识体系,一套你 Java 知识点的扫盲贴。
它的内容包括:
- 大厂真题:Java 面试宝典里面的题目都是最近几年的高频的大厂面试真题。
- 原创内容:Java 面试宝典内容全部都是大明哥原创,内容全面且通俗易懂,回答部分可以直接作为面试回答内容。
- 持续更新:一次购买,永久有效。大明哥会持续更新 3+ 年,累计更新 1000+,宝典会不断迭代更新,保证最新、最全面。
- 覆盖全面:本宝典累计更新 1000+,从 Java 入门到 Java 架构的高频面试题,实现 360° 全覆盖。
- 不止面试:内容包含面试题解析、内容详解、知识扩展,它不仅仅只是一份面试题,更是一套完整的 Java 知识体系。
- 宝典详情:https://www.yuque.com/chenssy/sike-java/xvlo920axlp7sf4k
- 宝典总览:https://www.yuque.com/chenssy/sike-java/yogsehzntzgp4ly1
- 宝典进展:https://www.yuque.com/chenssy/sike-java/en9ned7loo47z5aw
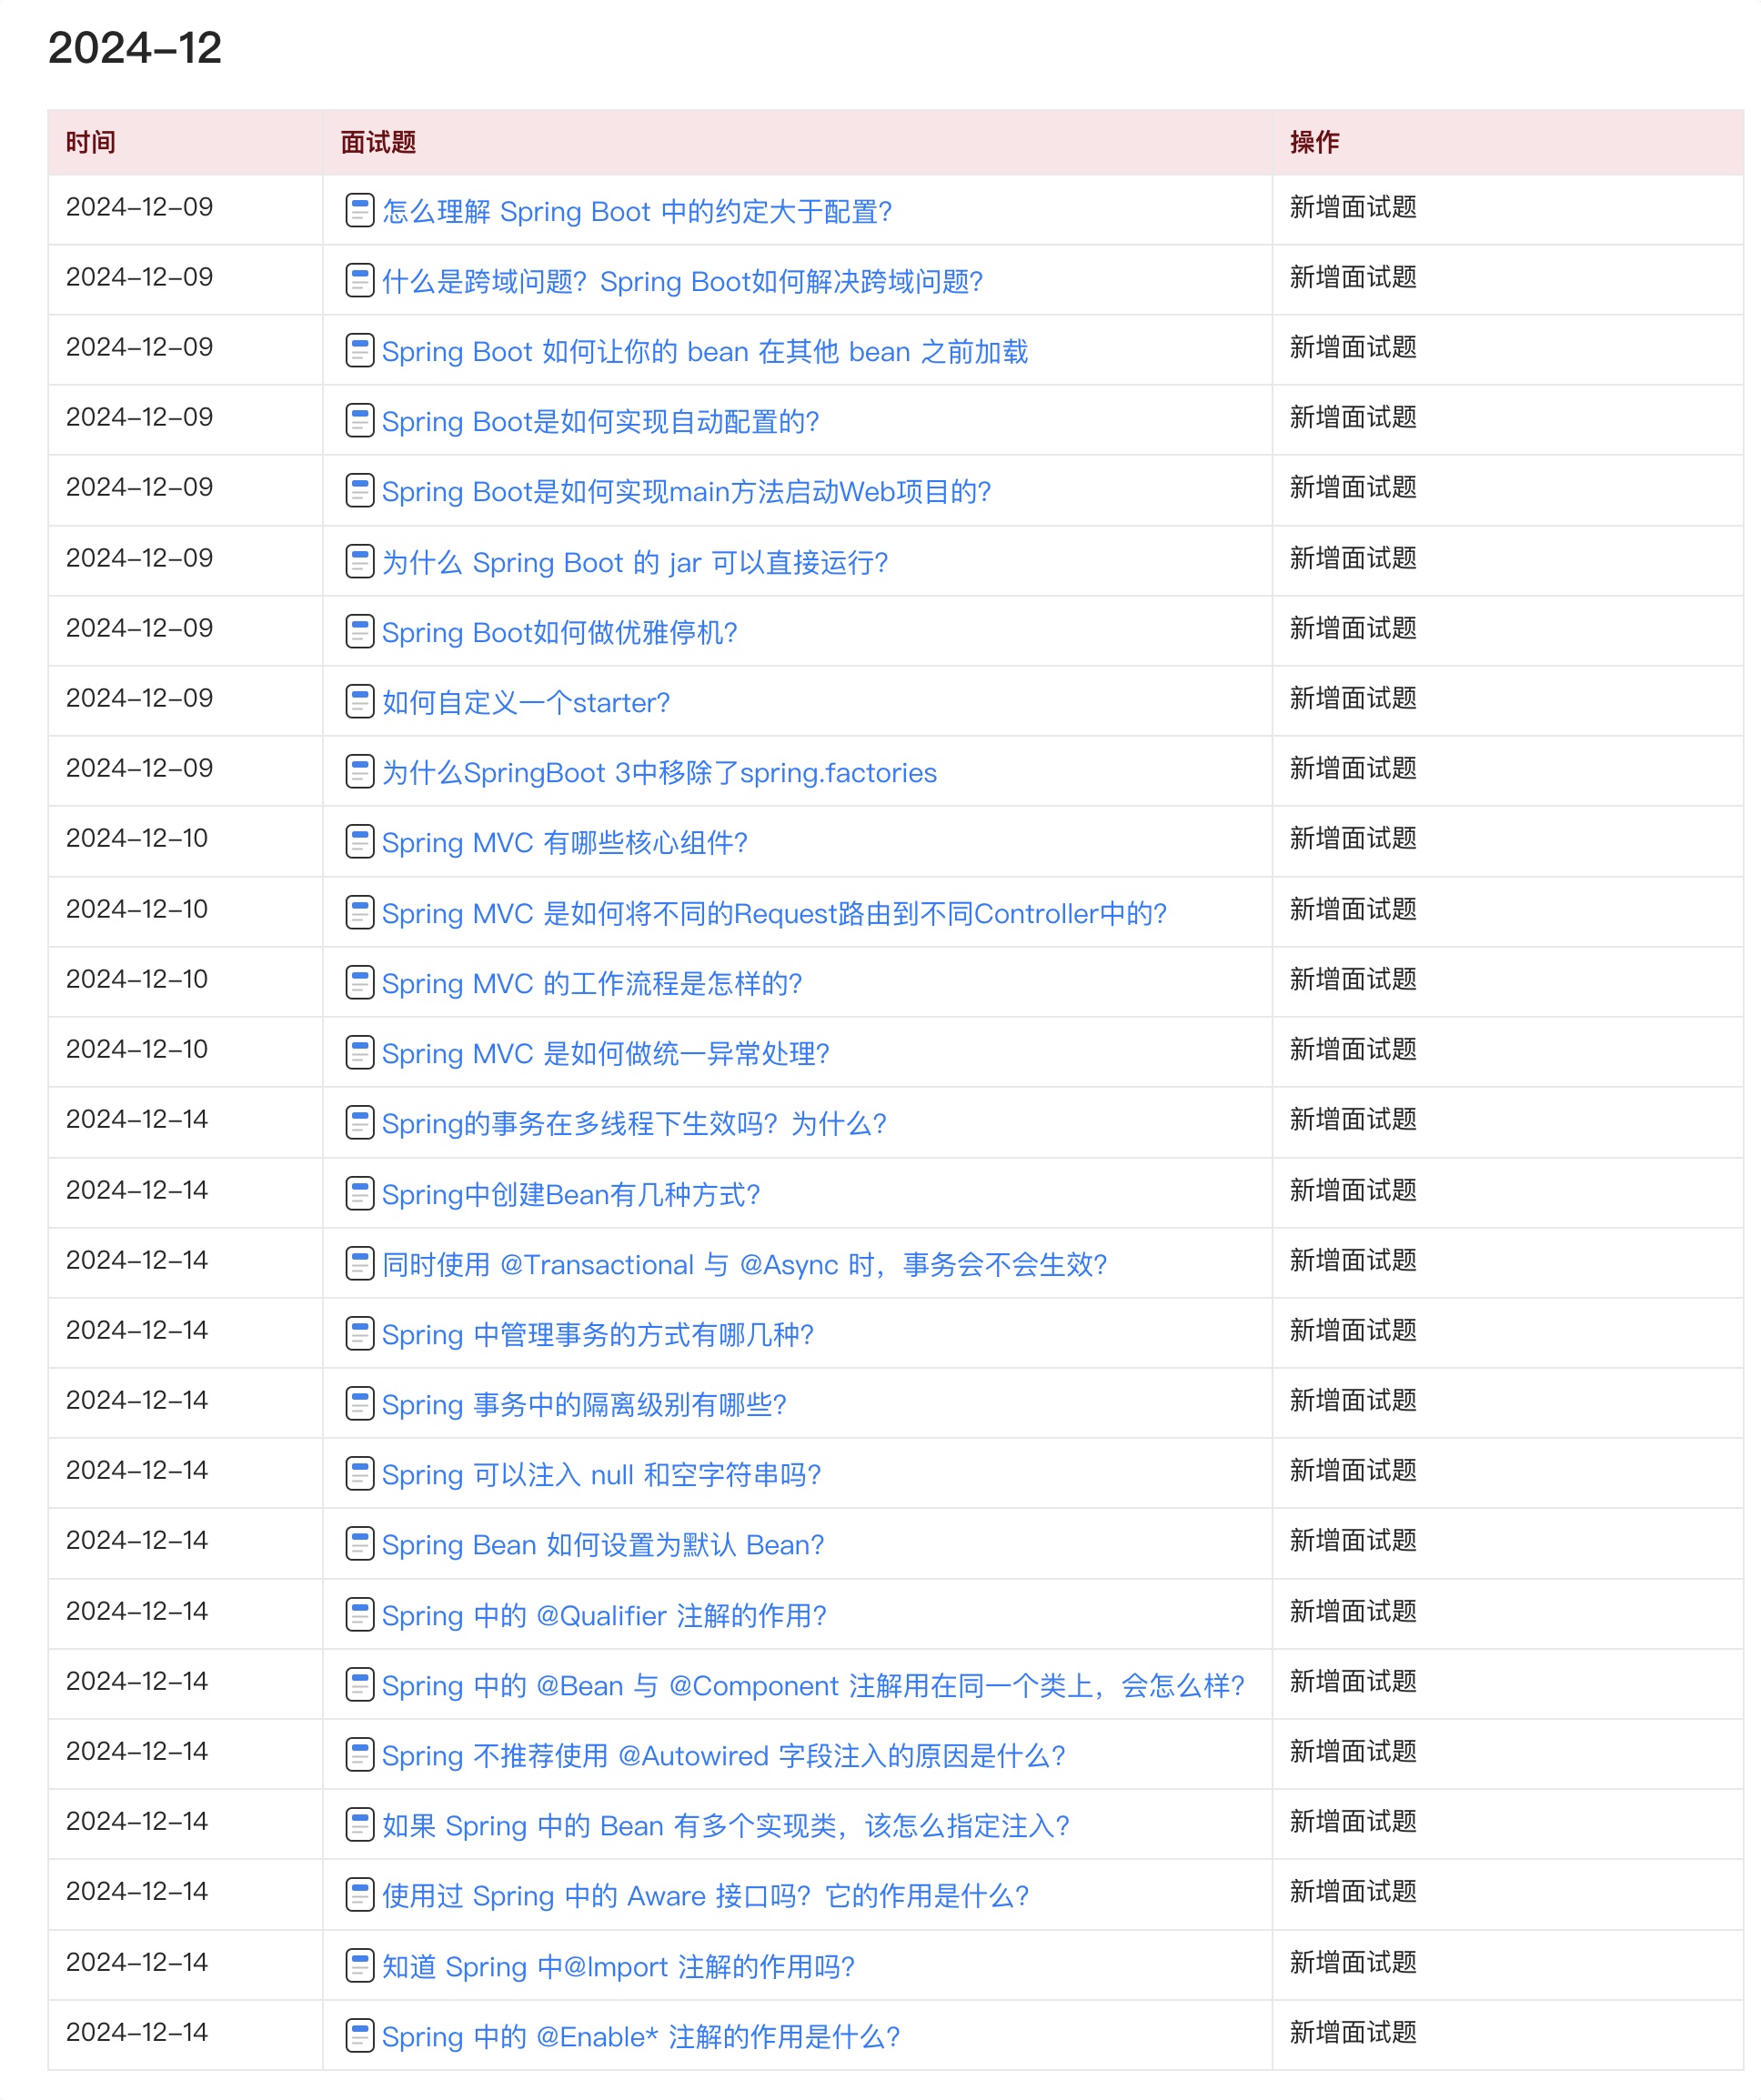
目前 Java 面试宝典累计更新 400+ 道,总字数 42w+。大明哥还在持续更新中,下图是大明哥在 2024-12 月份的更新情况:

想了解详情的小伙伴,扫描下面二维码加大明哥微信【daming091】咨询

同时,大明哥也整理一套目前市面最常见的热点面试题。微信搜[大明哥聊 Java]或扫描下方二维码关注大明哥的原创公众号[大明哥聊 Java] ,回复【面试题】 即可免费领取。

