前言
netty更新的是快,最新发布版本已经是4.1.45.Final了,以前有学过netty,觉得学的还不够深入,这次打算从源码级别去更加深入的理解内部机制。我不想介绍太多关于netty是什么,怎么用,我更想介绍一下原理,这样才能更好的去使用它,扩展它,完善它。我打算从常用的一些类开始介绍,比如NioEventLoopGroup ServerBootstrap ChannelHandler ChannelPipeline ByteBuf等一些源码分析,看看这些东西是怎么组合起来强大的高性能的netty,而且我打算用一些简单的接地气的例子来讲述内部的复杂原理,先说下环境windows7,JDK11。
同步和异步模型
其实同步和异步在很多地方描述的可能不一样,比如操作系统里同步信号量,指的是一个执行的顺序,但是用在编程模型上好像有点不合适,我个人觉得同步和异步的区别在于是不是同一个线程来执行你想要做的事。比如你要发起一个网路请求,然后显示出来结果,同步的做法就是网络请求是你发的,返回结果后也是你处理的,那就是同步,至于你在发送请求和返回结果中间做什么,那是阻塞和非阻塞的事了。如果你起了一个线程,注册了一个回调函数,在回调函数里去处理结果,那就是异步,因为处理结果的不是你,是另外的线程,虽然也是调用你的方法。所以我觉得是 同步还是异步模型就是看处理结果的是发起请求的线程,还是另外的线程 ,我是这么理解的。
阻塞和非阻塞模型
也用上面的例子,就是在你发起请求到返回结果的这段时间,你是在干嘛,如果阻塞,就是在等待,什么都不做,如果你去做别的了,那就是非阻塞,无论是你不停的在轮询结果,还是在处理其他业务,都是非阻塞,因为你没有因此放弃CPU,就算你是在while(true)或者说是自旋,也没有阻塞,只是你在循环里没做什么而已。所以我觉得 阻塞和非阻塞模型应该是有没有CPU挂了了。当然你可能会说,你写了个死循环,不是把后面的阻塞了,是的,是把后面的阻塞了,但是这个不算阻塞模型吧,我只是在无脑自旋而已,自旋应该不算阻塞吧 。
模型例子
举个上面馆吃面的例子。
同步阻塞模型
我跟老板说我要一碗片儿川,然后我就等在这里等,什么都不干,朋友圈也不刷,等你把面烧好了给我,我拿了面再找位置吃。这里的 同步表现为我要的面是我自己拿的 , 阻塞表现为我就在这里等着,什么都不干 。
同步非阻塞模型
我跟老板说我要一碗片儿川,然后我找了个位子坐下来,刷朋友圈,刷个1分钟抬头看一下面有没好,好了我就来拿了。这里的 同步表现为我要的面是我自己拿的 , 非阻塞表现为我刷会让朋友圈,看一下面有没好 。
异步阻塞模型(脑残模式)
我跟老板说我要一碗片儿川,然后我就等在这里等,什么都不干,朋友圈也不刷,然后跟老板说,面好了给我拿过来。不过这种好奇怪,你什么都不干等着,还让别人告诉你有没有好,你自己不是看着么。这里的 异步表现为面是老板给你拿来的 , 阻塞表现为我就在这里等着,什么都不干 。
异步非阻塞模型
我跟老板说我要一碗片儿川,然后我跟老板说面好了给我拿过来,然后我找了个位子坐下来,刷朋友圈。这里的 异步表现为面是老板给你拿来的 , 非阻塞表现为我去找位置刷朋友圈 。这样才是真正的AIO模型啊,也是我们生活中常用的,叫了碗面,然后找位置坐下玩是手机,面烧好了老板或者服务员会拿给你。
Netty的Reactor模式
反应器模式,什么鬼,核反应堆么,没错,有点类似,放点东西就可以反应出一大堆东西,你可以这么理解。不过要是想比较正式的东西,还是看这个文章,Java并发大神Doug Lea的文章。简单的说就是一种高效率的分工合作的模式。
比如你开了家软件外包公司,第一阶段就是:最开始的时候你一个人,接外包,写代码都你一个人。第二阶段,你发现一个人这么干干不了多少,写代码的时候没时间接活,接活的时候没时间写代码。于是你想是不是招程序员来帮我写代码,我接活就行了,我接了活,然后把活给程序员们就好啦。第三阶段,你发现你的公司做的不错,业务也越来越多,你发现你来不及接活了,于是想是不是要找点商务经理,来帮我一起接活,于是你的公司就出现一堆人接活,另一堆人写代码了。Netty就是基于第三阶段这种模式的加强版,但是具体接活的和写代码的怎么衔接,后续写代码的跟外包的怎么通信的也都是有讲究的,这个后面会细说,暂时这么理解就可以了。一堆人接活,一堆人干活,分工明确。如果用图来说明的话,第一阶段就是:

第二阶段:

第三阶段:

Netty如何运行
知道Netty是Reactor模式,但是具体是怎么运行的呢,我们先来个简单的例子:
    public class MyNettyServer {
        public static void main(String[] args) throws Exception {
            EventLoopGroup bossGroup = new NioEventLoopGroup(1);
            EventLoopGroup workerGroup = new NioEventLoopGroup();

            try {
                ServerBootstrap bootstrap = new ServerBootstrap();
                bootstrap.group(bossGroup, workerGroup)
                        .channel(NioServerSocketChannel.class)
                        .childHandler(new ChannelInitializer<SocketChannel>() {
                            @Override
                            protected void initChannel(SocketChannel ch) throws Exception {
                                ch.pipeline().addLast(new MyNettyServerHandler());
                            }
                        });
                ChannelFuture cf = bootstrap.bind(8888).sync();
                cf.addListener((ChannelFutureListener) future -> {
                    if (cf.isSuccess()) {
                        System.out.println("监听端口 8888 成功");
                    } else {
                        System.out.println("监听端口 8888 失败");
                    }
                });
                cf.channel().closeFuture().sync();
            } finally {
                bossGroup.shutdownGracefully();
                workerGroup.shutdownGracefully();
            }
        }

    }
这个就是我们最常用的例子模板,看上去很像也不多,却已经搭起了一个强大健壮的服务器。解下去我打算把这个启动的流程理一遍,这样对他的内部机制能有更好的理解,就能更的好运用他了。
先上个我整理的基本的流程图:

浅蓝色的是一些处理器,其实他们开始都是以任务的形式被添加到boss的任务队列里的,等线程启动了就会开始先执行他们,这个后面会讲到,我们一步步来。如果你觉得这个图不够明白的话,可以参考图解Netty源码系列四最后的图,那个应该比较精炼。
NioEventLoopGroup
先看看这个类的结构:

哇,那么多接口,那么多类,看的我不知所措,我也是,不过我们可以把他们归归类,上面的接口都是JDK的,并发和迭代器,这个并发还不了解的可以看我前面的并发文章,无非就是一些执行任务接口,关闭接口,提交任务接口这些,另外迭代器就是为了统一外界遍历接口。下面的就是netty的,比如说EventExecutorGroup接口,一看名字事件执行器组,应该可以猜到里面应该定义了一堆执行任务相关的方法,瞄一眼即可,你会发现跟并发的线程池那块很多一样的:

而EventLoopGroup接口继承了它,还加了一些方法,好像是要注册什么东西,然后还有next(),应该是获取一下个什么东西:

然后后面的类就是扩展到MultithreadEventLoopGroup多线程事件循环组,继承了抽象类,实现了接口,应该是把两者结合起来了,一方面是需要事件执行器,一方面又需要定义事件循环接口,也就是说我需要告诉执行器们你们应该做什么。最终NioEventLoopGroup只实现了很关键的newChild方法:

NioEventLoop
返回是个NioEventLoop,这个是什么呢,我们看看结构:

我们先不细看,就看继承的哪些类的名字,最终继承一个单线程事件循环类,那就够了,你大致能知道,里面有个单线程循环,单线程,太好了,不用考虑线程安全问题了。
现在回过头来,我们大致能猜到NioEventLoopGroup和NioEventLoop的关系了吧:

接下来我们看看new NioEventLoopGroup()干了些什么。
创建NioEventLoopGroup源码分析
因为东西太多,我只找重点说了,暂时无关紧要的就不多说了。
        public NioEventLoopGroup() {
            this(0);
        }

         public NioEventLoopGroup(int nThreads) {
            this(nThreads, (Executor) null);
        }

          public NioEventLoopGroup(ThreadFactory threadFactory) {
            this(0, threadFactory, SelectorProvider.provider());//这里可以获得选择器提供器了
        }

           public NioEventLoopGroup(
                int nThreads, Executor executor, final SelectorProvider selectorProvider) {
            this(nThreads, executor, selectorProvider, DefaultSelectStrategyFactory.INSTANCE);//加入选择器的策略工厂
        }

           public NioEventLoopGroup(int nThreads, Executor executor, final SelectorProvider selectorProvider,
                                 final SelectStrategyFactory selectStrategyFactory) {
            super(nThreads, executor, selectorProvider, selectStrategyFactory, RejectedExecutionHandlers.reject());//加了拒绝处理器,跟线程池一样的,饱和了要拒绝
        }

             protected MultithreadEventLoopGroup(int nThreads, Executor executor, Object... args) {
            super(nThreads == 0 ? DEFAULT_EVENT_LOOP_THREADS : nThreads, executor, args);
        }//如果默认不传是0,他会用CPU核数*2
MultithreadEventLoopGroup在初始化的时候:

继续跟进去:
        protected MultithreadEventExecutorGroup(int nThreads, Executor executor, Object... args) {
            this(nThreads, executor, DefaultEventExecutorChooserFactory.INSTANCE, args);
        }//这里又创建了执行器选择工厂,也可以说是负载均衡吧,这个就是说如何选择执行器来做事,默认是可以从头到尾轮着来,就是取模
最后终于达到终点了:
     protected MultithreadEventExecutorGroup(int nThreads, Executor executor,
                                                EventExecutorChooserFactory chooserFactory, Object... args) {
    			...
    //线程池
            if (executor == null) {
                executor = new ThreadPerTaskExecutor(newDefaultThreadFactory());
            }
    //事件执行器
            children = new EventExecutor[nThreads];

            for (int i = 0; i < nThreads; i ++) {
                boolean success = false;
                try {
                    children[i] = newChild(executor, args);
                    success = true;
                } catch (Exception e) {
                    // TODO: Think about if this is a good exception type
                    throw new IllegalStateException("failed to create a child event loop", e);
                } finally {
                  ...
                }
            }

            chooser = chooserFactory.newChooser(children);
    //终止事件
            final FutureListener<Object> terminationListener = new FutureListener<Object>() {
                @Override
                public void operationComplete(Future<Object> future) throws Exception {
                    if (terminatedChildren.incrementAndGet() == children.length) {
                        terminationFuture.setSuccess(null);
                    }
                }
            };

            for (EventExecutor e: children) {//添加终止事件
                e.terminationFuture().addListener(terminationListener);
            }

            Set<EventExecutor> childrenSet = new LinkedHashSet<EventExecutor>(children.length);
            Collections.addAll(childrenSet, children);
            readonlyChildren = Collections.unmodifiableSet(childrenSet);//保存只读的
        }
接下去就要解析关键的地方了。
创建执行器new ThreadPerTaskExecutor(newDefaultThreadFactory())
newDefaultThreadFactory()
首先是创建了线程工厂,就跟线程池的线程工厂一样的,最后跟进去可以看到:

这里你会发现怎么前缀变成nioEventLoopGroup-2-,因为前面初始化MultithreadEventExecutorGroup的时候,有个叫全局事件执行器GlobalEventExecutor的变量要初始化,根据类加载的流程,他会在构造函数之前初始化的:

构造函数里就已经创建了默认线程工厂:


new ThreadPerTaskExecutor
这个类很干脆,就是设置了一个线程工厂,有任务就创建一个线程执行,跟这个类的名字很符合啊:

初始化事件执行器
前面传入的nThreads就是这个地方用的,创建相应个数的EventExecutor:
    	...
     	children = new EventExecutor[nThreads];

            for (int i = 0; i < nThreads; i ++) {
                boolean success = false;
                try {
                    children[i] = newChild(executor, args);
                    success = true;
                } catch (Exception e) {
                    // TODO: Think about if this is a good exception type
                    throw new IllegalStateException("failed to create a child event loop", e);
                } finally {
    				...
                }
            }
newChild创建NioEventLoop
主要还是这个方法:
       @Override
        protected EventLoop newChild(Executor executor, Object... args) throws Exception {
            EventLoopTaskQueueFactory queueFactory = args.length == 4 ? (EventLoopTaskQueueFactory) args[3] : null;
            return new NioEventLoop(this, executor, (SelectorProvider) args[0],
                ((SelectStrategyFactory) args[1]).newSelectStrategy(), (RejectedExecutionHandler) args[2], queueFactory);
        }
首先判断了可变参数是否有4个,有的话就拿出第4个参数EventLoopTaskQueueFactory类型的,但是我们明明只有3个啊:

其实是有个构造函数的:

然后进入NioEventLoop的构造方法:
      NioEventLoop(NioEventLoopGroup parent, Executor executor, SelectorProvider selectorProvider,
                     SelectStrategy strategy, RejectedExecutionHandler rejectedExecutionHandler,
                     EventLoopTaskQueueFactory queueFactory) {
            super(parent, executor, false, newTaskQueue(queueFactory), newTaskQueue(queueFactory),
                    rejectedExecutionHandler);
            this.provider = ObjectUtil.checkNotNull(selectorProvider, "selectorProvider");//选择器提供器
            this.selectStrategy = ObjectUtil.checkNotNull(strategy, "selectStrategy");//选择器策略,有可能可以推迟select方法而先去执行任务
            final SelectorTuple selectorTuple = openSelector();
            this.selector = selectorTuple.selector;//包装后的选择器
            this.unwrappedSelector = selectorTuple.unwrappedSelector;//原始NIO的选择器
        }
调用了父类的方法,但是还调用了两次newTaskQueue,创建了两个队列:
        private static Queue<Runnable> newTaskQueue(
                EventLoopTaskQueueFactory queueFactory) {
            if (queueFactory == null) {
                return newTaskQueue0(DEFAULT_MAX_PENDING_TASKS);
            }
            return queueFactory.newTaskQueue(DEFAULT_MAX_PENDING_TASKS);
        }
然后调用了newTaskQueue0:
    private static Queue<Runnable> newTaskQueue0(int maxPendingTasks) {
        // This event loop never calls takeTask()
        return maxPendingTasks == Integer.MAX_VALUE ? PlatformDependent.<Runnable>newMpscQueue()
                : PlatformDependent.<Runnable>newMpscQueue(maxPendingTasks);
    }
PlatformDependent类就是根据不同的操作系统创建不同的数据,创建的是MpscUnboundedArrayQueue,是jctools.queues包下的,是个高性能队列,里面比较复杂,是AbstractQueue得子类,暂时知道是个队列就好。
然后进入NioEventLoop的父类SingleThreadEventLoop构造方法:
        protected SingleThreadEventLoop(EventLoopGroup parent, Executor executor,
                                        boolean addTaskWakesUp, Queue<Runnable> taskQueue, Queue<Runnable> tailTaskQueue,
                                        RejectedExecutionHandler rejectedExecutionHandler) {
            super(parent, executor, addTaskWakesUp, taskQueue, rejectedExecutionHandler);
            tailTasks = ObjectUtil.checkNotNull(tailTaskQueue, "tailTaskQueue");//还有个尾队列
        }
然后进入SingleThreadEventLoop的父类SingleThreadEventExecutor构造方法:
        protected SingleThreadEventExecutor(EventExecutorGroup parent, Executor executor,
                                            boolean addTaskWakesUp, Queue<Runnable> taskQueue,
                                            RejectedExecutionHandler rejectedHandler) {
            super(parent);
            this.addTaskWakesUp = addTaskWakesUp;
            this.maxPendingTasks = DEFAULT_MAX_PENDING_EXECUTOR_TASKS;
            this.executor = ThreadExecutorMap.apply(executor, this);//进过包装的执行器
            this.taskQueue = ObjectUtil.checkNotNull(taskQueue, "taskQueue");//任务队列
            this.rejectedExecutionHandler = ObjectUtil.checkNotNull(rejectedHandler, "rejectedHandler");//拒绝策略
        }
最后是把parent放进了AbstractEventExecutor里:

看看继承结构:

SingleThreadEventExecutor构造函数中这句:
this.executor = ThreadExecutorMap.apply(executor, this);
里面把刚才创建好的ThreadPerTaskExecutor和NioEventLoop包装了下,返回是ThreadExecutorMap内部匿名对象executor,只是里面是用ThreadPerTaskExecutor来执行任务的:

里面还有一层apply,任务真正运行之前会设置setCurrentEventExecutor当前的eventExecutor也就是NioEventLoop,里面用了ThreadLocal,当前线程独有的,任务运行完了就设置空了,具体里面还比较复杂,暂时不跟了,知道就好了:

现在我们知道SingleThreadEventExecutor构造函数设置了执行器ThreadExecutorMap 内部executor,里面是封装了ThreadPerTaskExecutor和NioEventLoop。设置了任务队列taskQueue,拒绝处理器rejectedExecutionHandler。而SingleThreadEventLoop构造函数设置了tailTasks,这个后面会讲,也就是前面创建的两个队列中的一个。最终回到NioEventLoop构造函数设置了选择器提供器provider,选择器的策略selectStrategy,通过openSelector()方法获得SelectorTuple。里面含有未包装的获得包装的unwrappedSelector和包装的SelectedSelectionKeySetSelector。

如果发现创建失败,时候就会进行优雅关闭,这里就不多说了。
chooserFactory.newChooser(children)创建选择器
我们继续chooser = chooserFactory.newChooser(children);,其实就是要怎么选择执行器,默认就是从头到位往复循环:
        @Override
        public EventExecutorChooser newChooser(EventExecutor[] executors) {
            if (isPowerOfTwo(executors.length)) {
                return new PowerOfTwoEventExecutorChooser(executors);
            } else {
                return new GenericEventExecutorChooser(executors);
            }
        }
然后根据执行器的长度是否是2的幂次选择不同的计算方式,一种是位运算,性能肯定比一般的好点,还有一种就是常规的取模,意思是一样的:

terminationListener设置终止监听器
就是如果要终止的时候,会有回调:
      final FutureListener<Object> terminationListener = new FutureListener<Object>() {
                @Override
                public void operationComplete(Future<Object> future) throws Exception {
                    if (terminatedChildren.incrementAndGet() == children.length) {
                        terminationFuture.setSuccess(null);
                    }
                }
            };

            for (EventExecutor e: children) {//添加终止事件
                e.terminationFuture().addListener(terminationListener);
            }
Collections.addAll(childrenSet, children)将执行器放入LinkedHashSet
添加到LinkedHashSet,然后创建一个不可变的集合readonlyChildren :
     Set<EventExecutor> childrenSet = new LinkedHashSet<EventExecutor>(children.length);
            Collections.addAll(childrenSet, children);
            readonlyChildren = Collections.unmodifiableSet(childrenSet);
至此NioEventLoopGroup初始化基本完成,当然还有很多细节,还需要自己调试下。
好了,今天就到这里了,希望对学习理解有帮助,大神看见勿喷,仅为自己的学习理解,能力有限,请多包涵。
Java 面试宝典是大明哥全力打造的 Java 精品面试题,它是一份靠谱、强大、详细、经典的 Java 后端面试宝典。它不仅仅只是一道道面试题,而是一套完整的 Java 知识体系,一套你 Java 知识点的扫盲贴。
它的内容包括:
- 大厂真题:Java 面试宝典里面的题目都是最近几年的高频的大厂面试真题。
- 原创内容:Java 面试宝典内容全部都是大明哥原创,内容全面且通俗易懂,回答部分可以直接作为面试回答内容。
- 持续更新:一次购买,永久有效。大明哥会持续更新 3+ 年,累计更新 1000+,宝典会不断迭代更新,保证最新、最全面。
- 覆盖全面:本宝典累计更新 1000+,从 Java 入门到 Java 架构的高频面试题,实现 360° 全覆盖。
- 不止面试:内容包含面试题解析、内容详解、知识扩展,它不仅仅只是一份面试题,更是一套完整的 Java 知识体系。
- 宝典详情:https://www.yuque.com/chenssy/sike-java/xvlo920axlp7sf4k
- 宝典总览:https://www.yuque.com/chenssy/sike-java/yogsehzntzgp4ly1
- 宝典进展:https://www.yuque.com/chenssy/sike-java/en9ned7loo47z5aw
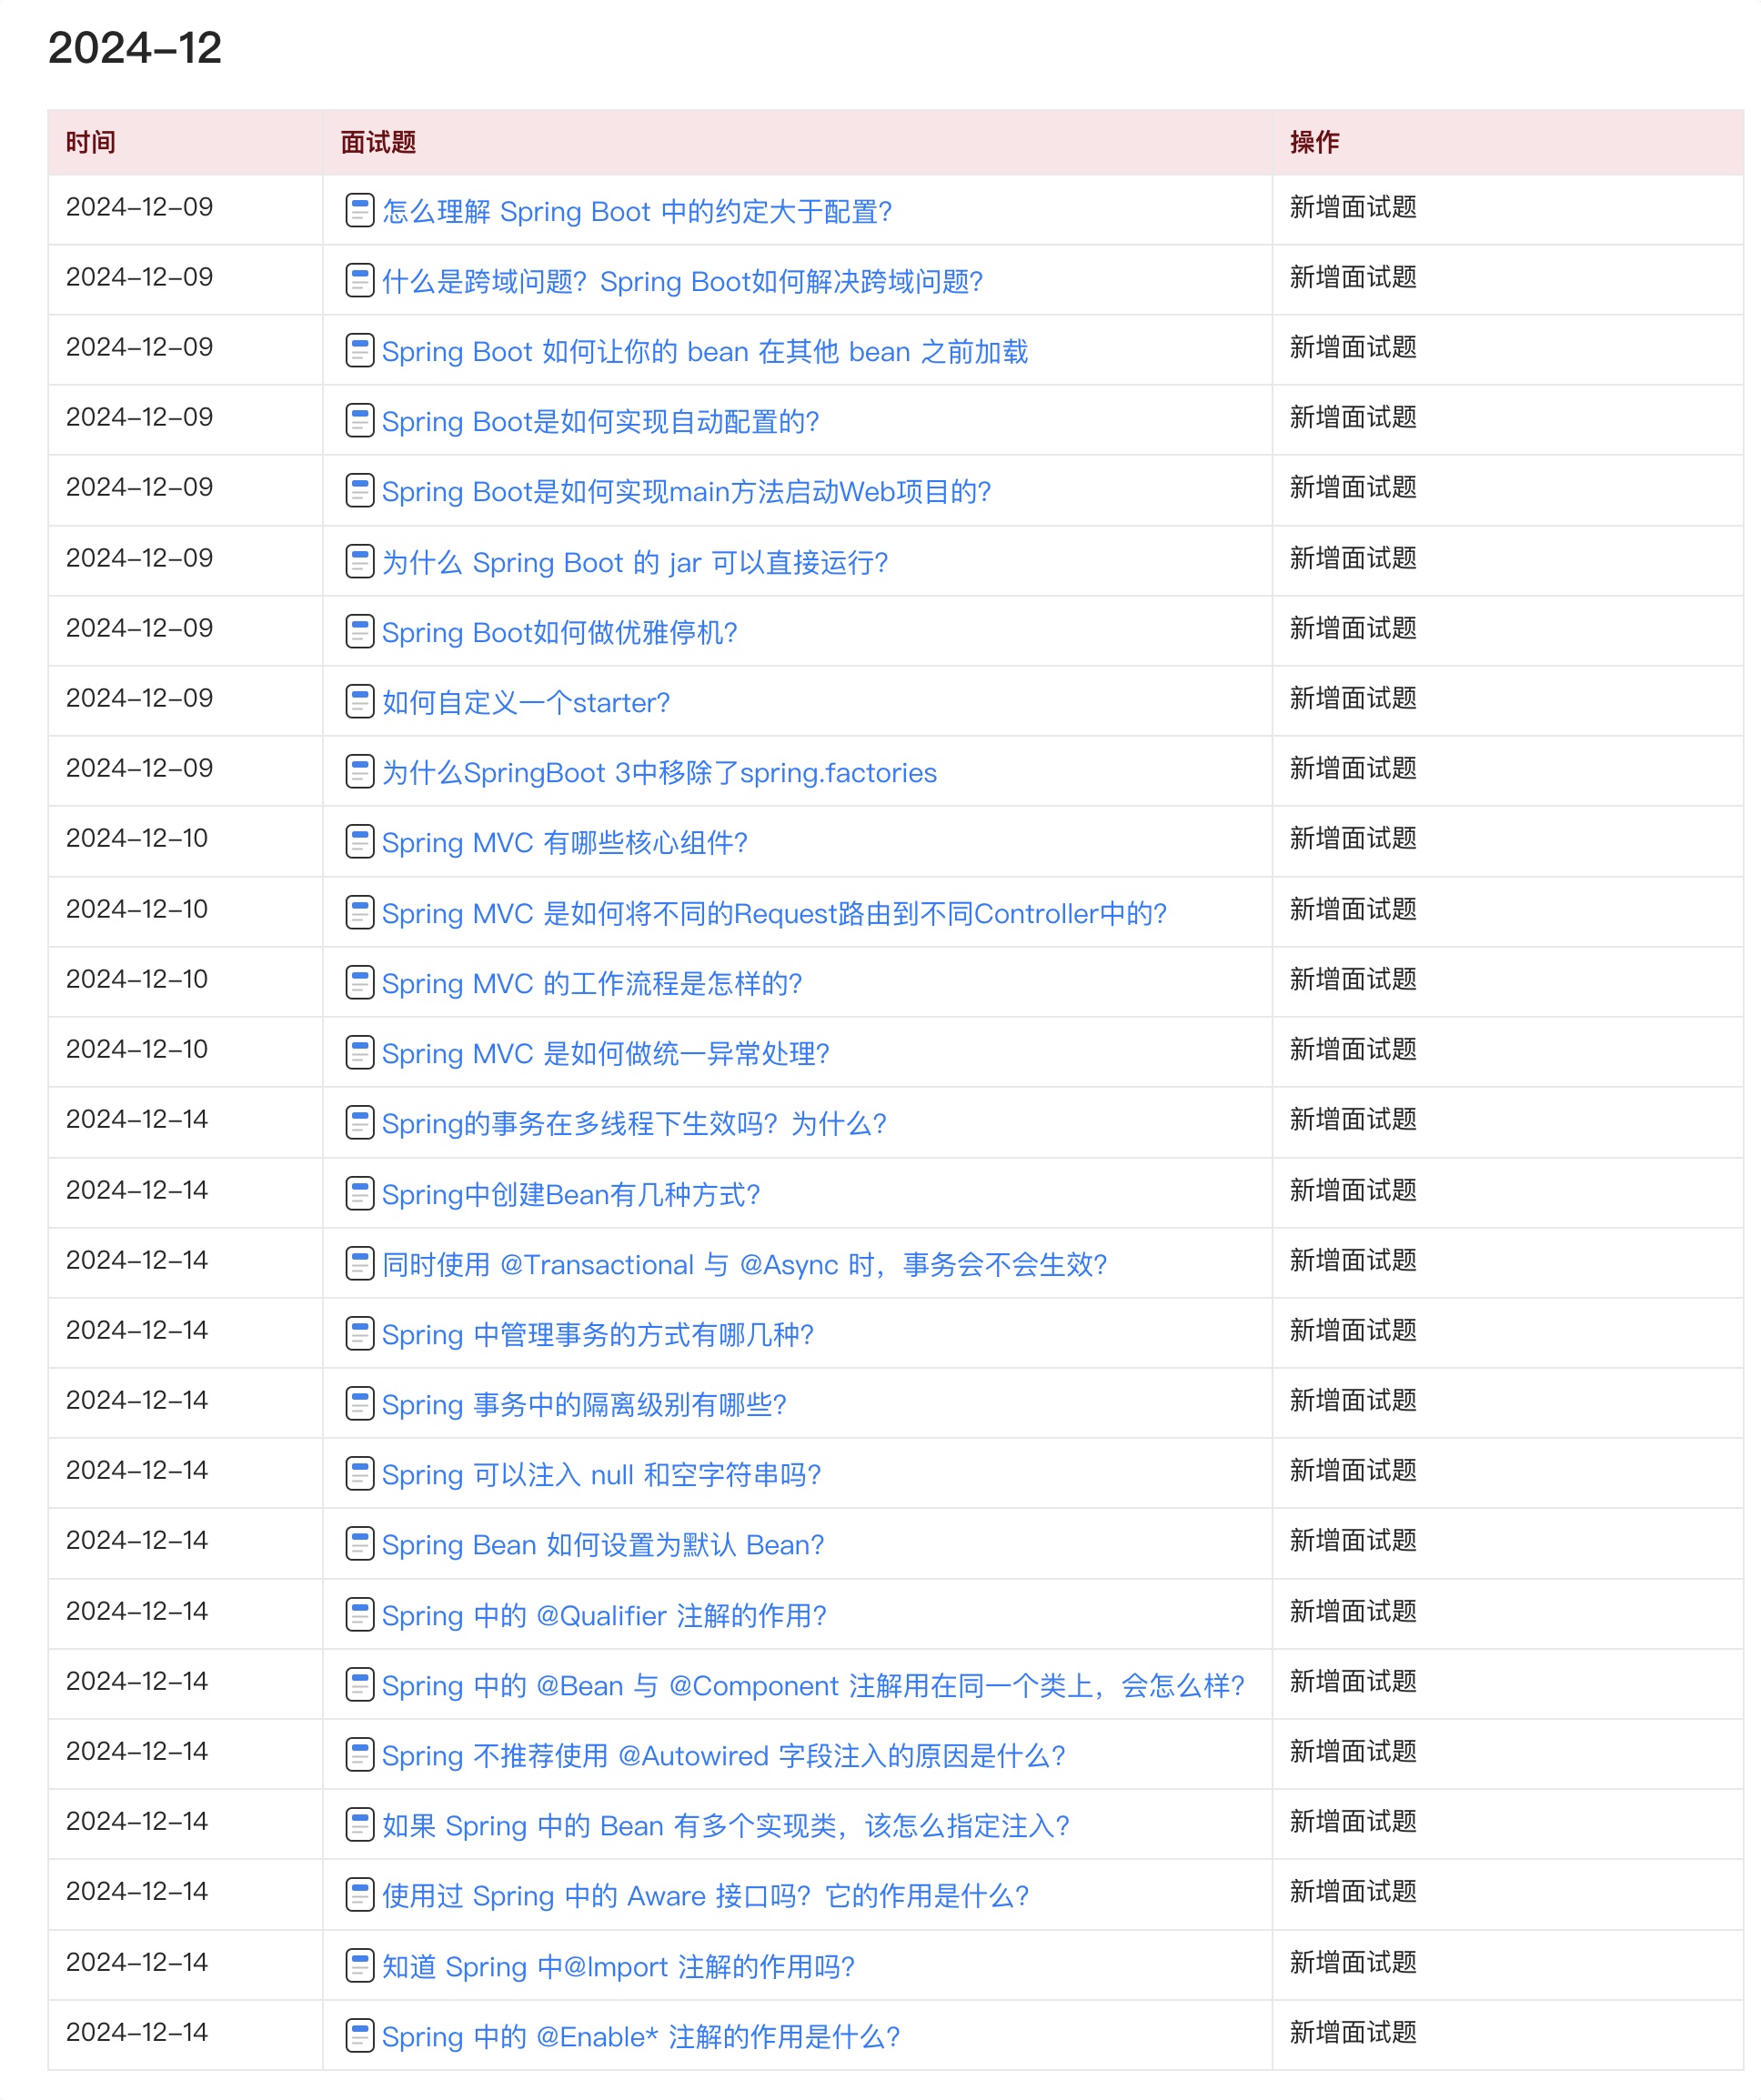
目前 Java 面试宝典累计更新 400+ 道,总字数 42w+。大明哥还在持续更新中,下图是大明哥在 2024-12 月份的更新情况:

想了解详情的小伙伴,扫描下面二维码加大明哥微信【daming091】咨询

同时,大明哥也整理一套目前市面最常见的热点面试题。微信搜[大明哥聊 Java]或扫描下方二维码关注大明哥的原创公众号[大明哥聊 Java] ,回复【面试题】 即可免费领取。

