1. SpringBoot快速入门
1.1 pom.xml 分析
    <!-- 父依赖 -->
    <parent>
        <groupId>org.springframework.boot</groupId>
        <artifactId>spring-boot-starter-parent</artifactId>
        <version>2.2.5.RELEASE</version>
        <relativePath/>
    </parent>

    <dependencies>
        <!-- web场景启动器 -->
        <dependency>
            <groupId>org.springframework.boot</groupId>
            <artifactId>spring-boot-starter-web</artifactId>
        </dependency>
        <!-- springboot单元测试 -->
        <dependency>
            <groupId>org.springframework.boot</groupId>
            <artifactId>spring-boot-starter-test</artifactId>
            <scope>test</scope>
            <!-- 剔除依赖 -->
            <exclusions>
                <exclusion>
                    <groupId>org.junit.vintage</groupId>
                    <artifactId>junit-vintage-engine</artifactId>
                </exclusion>
            </exclusions>
        </dependency>
    </dependencies>

    <build>
        <plugins>
            <!-- 打包插件 -->
            <plugin>
                <groupId>org.springframework.boot</groupId>
                <artifactId>spring-boot-maven-plugin</artifactId>
            </plugin>
            <plugin>
                    <groupId>org.apache.maven.plugins</groupId>
                    <artifactId>maven-surefire-plugin</artifactId>
                    <configuration>
                        <!--跳过项目运行测试用例-->
                        <skipTests>true</skipTests>
                    </configuration>
                </plugin>
        </plugins>
    </build>
1.2 编写一个http接口
1、在主程序的同级目录下,新建一个controller包,一定要在同级目录下,否则识别不到
2、在包中新建一个HelloController类
    @Controller
    public class HelloController {

        @GetMapping("/hello")
        @ResponseBody
        public String hello(){
            return "hello";
        }
    }
1.3 将项目打成jar包
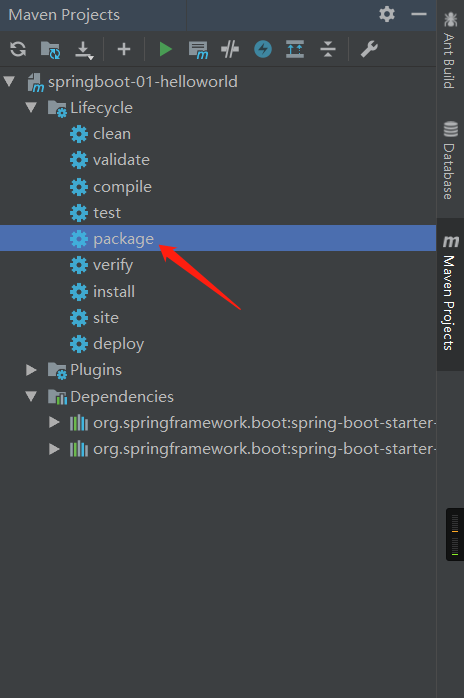
点击右侧的 MavenProject 进入 Lifecycle 双击 package 自动进行打包

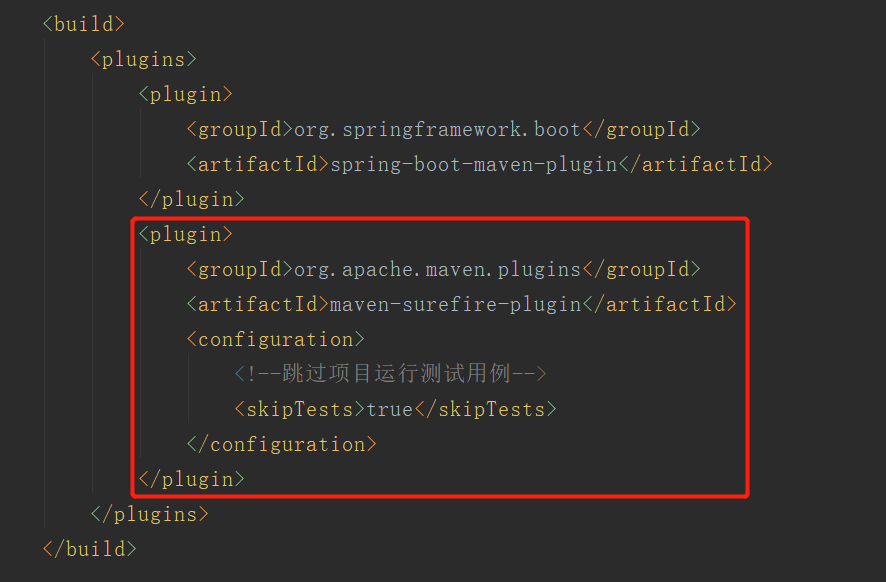
若打包失败,在pom.xml文件中配置跳过项目运行测试用例

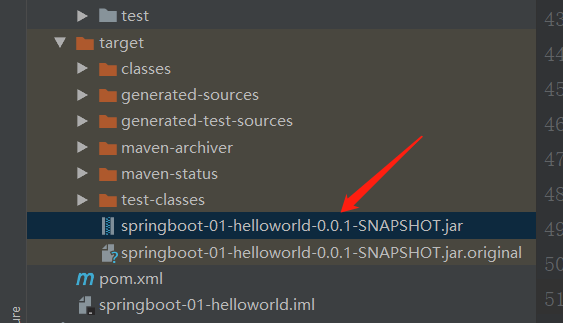
打包成功如下,同时在target目录下生成一个 jar 包


1.4 小彩蛋
如何更改SpringBoot启动时的banner图案?
- 首先到项目下的 resources 目录下新建一个banner.txt 文件
- 然后图案可以到:https://www.bootschool.net/ascii 这个网站生成,然后拷贝到文件中即可!
