Spring整合Schedule定时任务详解
一、概述
用Spring,就是为了简单。
但是我还是要总结下java定时任务实现的几种方式。
- 1.TimerTask,等于一个线程隔一段时间运行一下。
- 2.ScheduledExecutorService,线程池版的TimerTask。
- 3.Spring支持的定时任务,@Schedule注解,支持crontab表达式。
- 4.quartz,比较流行的任务调度工具,就是配置起来麻烦。
所以,这里还是先讲第三个吧,前两个跟Spring没关系,这里不讲,quartz配置麻烦,后面篇幅再说。
**如果大家正在寻找一个java的学习环境,或者在开发中遇到困难,可以<a
href="https://jq.qq.com/?_wv=1027&k=52sgH1J"
target="_blank">
加入我们的java学习圈,点击即可加入
,共同学习,节约学习时间,减少很多在学习中遇到的难题。**
二、环境配置
本文假设你已经引入Spring必备的一切了,已经是个Spring项目了,如果不会搭建,可以打开这篇文章看一看《Spring和Spring Mvc 5整合详解》。
为方便使用,我们一般把定时任务的crontab表达式提出去。
所以,我们可以配置一个Spring的配置文件spring-schedule.xml,然后在Spring的主配置文件中,用<import resource="classpath*:spring-schedule.xml"/>引入即可,这样模块的耦合性就没那么强。
spring-schedule.xml:
    <?xml version="1.0" encoding="UTF-8"?>
    <beans xmlns="http://www.springframework.org/schema/beans"
    	xmlns:xsi="http://www.w3.org/2001/XMLSchema-instance" xmlns:context="http://www.springframework.org/schema/context"
    	xmlns:p="http://www.springframework.org/schema/p"
    	xsi:schemaLocation="
                        http://www.springframework.org/schema/beans
                        http://www.springframework.org/schema/beans/spring-beans-4.0.xsd
                        http://www.springframework.org/schema/context
                        http://www.springframework.org/schema/context/spring-context-4.0.xsd">

    	<context:annotation-config />
    	<context:component-scan base-package="cn.pomit.springwork">
    	</context:component-scan>

    	<bean id="annotationPropertyConfigurerSchedule"
    		class="org.springframework.beans.factory.config.PropertyPlaceholderConfigurer">
    		<property name="order" value="1" />
    		<property name="ignoreUnresolvablePlaceholders" value="true" />
    		<property name="locations">
    			<list>
    				<value>classpath:schedule.properties</value>
    			</list>
    		</property>
    	</bean>

    </beans>
schedule.properties:
schedule.task.test=0/2 * * * * ?
三、Schedule的配置
为方便使用,我们直接用注解来启用Scheduling。@EnableScheduling可以直接启用:
    package cn.pomit.springwork.schedule.config;

    import org.springframework.beans.factory.annotation.Autowired;
    import org.springframework.context.annotation.Configuration;
    import org.springframework.scheduling.annotation.EnableScheduling;
    import org.springframework.scheduling.annotation.Scheduled;

    import cn.pomit.springwork.schedule.service.ScheduleService;

    @Configuration
    @EnableScheduling
    public class ScheduleConfig {
    	@Autowired
    	ScheduleService scheduleService;

    	@Scheduled(cron = "${schedule.task.test}")
    	public void dayJob() {
    		scheduleService.doJob();
    	}
    }
这里的cron 表达式可以直接写到@Scheduled上,也可以用${schedule.task.test}这种方式去获取配置文件中的schedule.task.test属性。建议还是写配置文件,改起来方便。
其实这样已经可以用了。
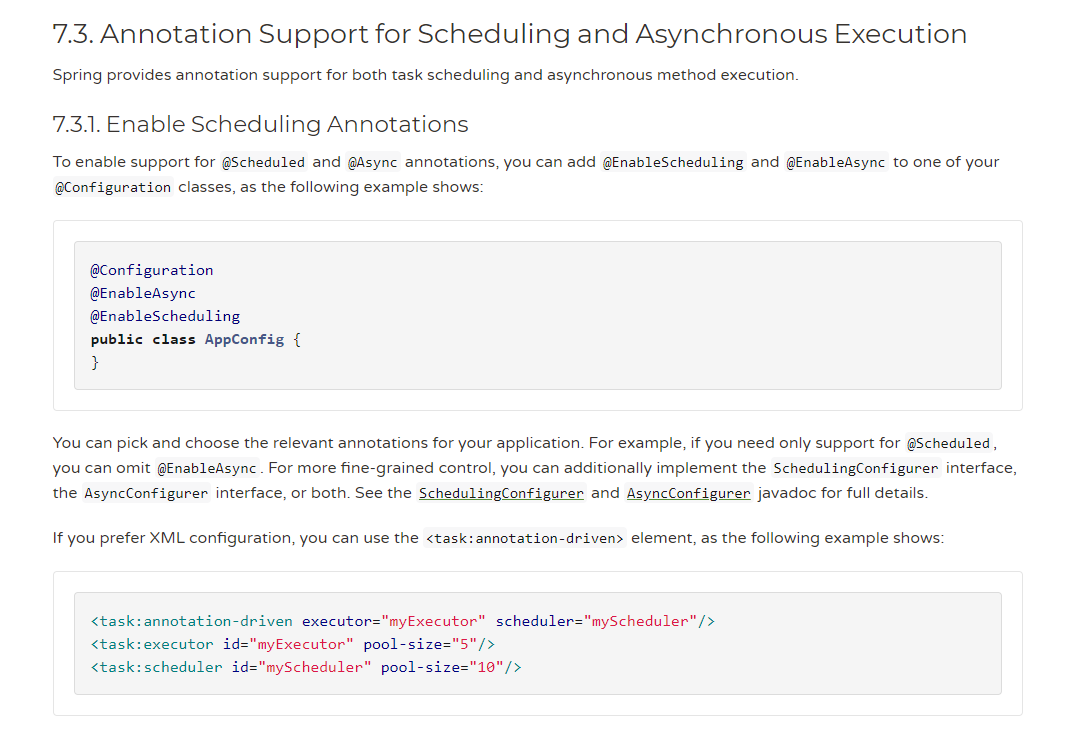
如果你非要用配置文件,也不是不可以,Spring官网给你讲了,然后Spring官方文档还告诉你,如果只想支持@Scheduled注解,就可以不加@EnableAsync注解,所以这里就不加了,@EnableAsync是开启异步调用的。
官网给出的xml配置方式是这样的:
    <task:annotation-driven executor="myExecutor" scheduler="myScheduler"/>
    <task:executor id="myExecutor" pool-size="5"/>
    <task:scheduler id="myScheduler" pool-size="10"/>

在这里插入图片描述
四、业务逻辑
ScheduleService:
    package cn.pomit.springwork.schedule.service;

    import org.springframework.stereotype.Service;

    @Service
    public class ScheduleService {
    	public void doJob() {
    		System.out.println("test");
    	}

    }
